Biscuits Three Ways
There are some recipes that are impressive and complicated, and then there are recipes that are simple, reliable, and somehow even better because of it. These biscuits fall squarely into that second category. They’re buttery, soft, and tender with just the right amount of flakiness, and the best part is how easy they are to make. No complicated steps, no special equipment - just a handful of ingredients and some time in the oven. They bake up golden on the outside with a soft, pillowy center that practically begs to be split open and topped with something good.
Biscuits
Yields:
Ingredients:
120g Egg Whites, Room temp
240g Granulated Sugar
1 Vanilla Bean or 2t Vanilla Bean Paste
1t Cornstarch
1t Lemon Juice
Pinch of Salt
Instructions:
Prep: Preheat your over to 250 degrees, and line sheet pans with parchment DO NOT USE PAN SPAY. Wipethe inside of your bowl, attachment, and rubber spatula with a little bit of vinegar on a paper towel.
Important Note: This removes any fats coating your tools otherwise it will prevent the eggs whites from whipping to stiff peaks. Fat acts like a barrier and will not let the egg whites trap any air and you will have to toss it all, clean the bowel thoroughly, and start over.
Step 1: In a stand mixer fixed with a whisk attachment, whip egg whites and salt until soft peaks form, then slowly add sugar one tablespoon at a time to dissolve sugar into egg whites.
Step 2: Continue whipping egg whites until you reach stiff peaks. Refer to picture below to know what that looks like.
Step 3: Carefully fold in cornstarch. vanilla, and lemon juice
Note: I recommend scaling everything out before you even start the process for a smoother and less stressful bake.Image One.
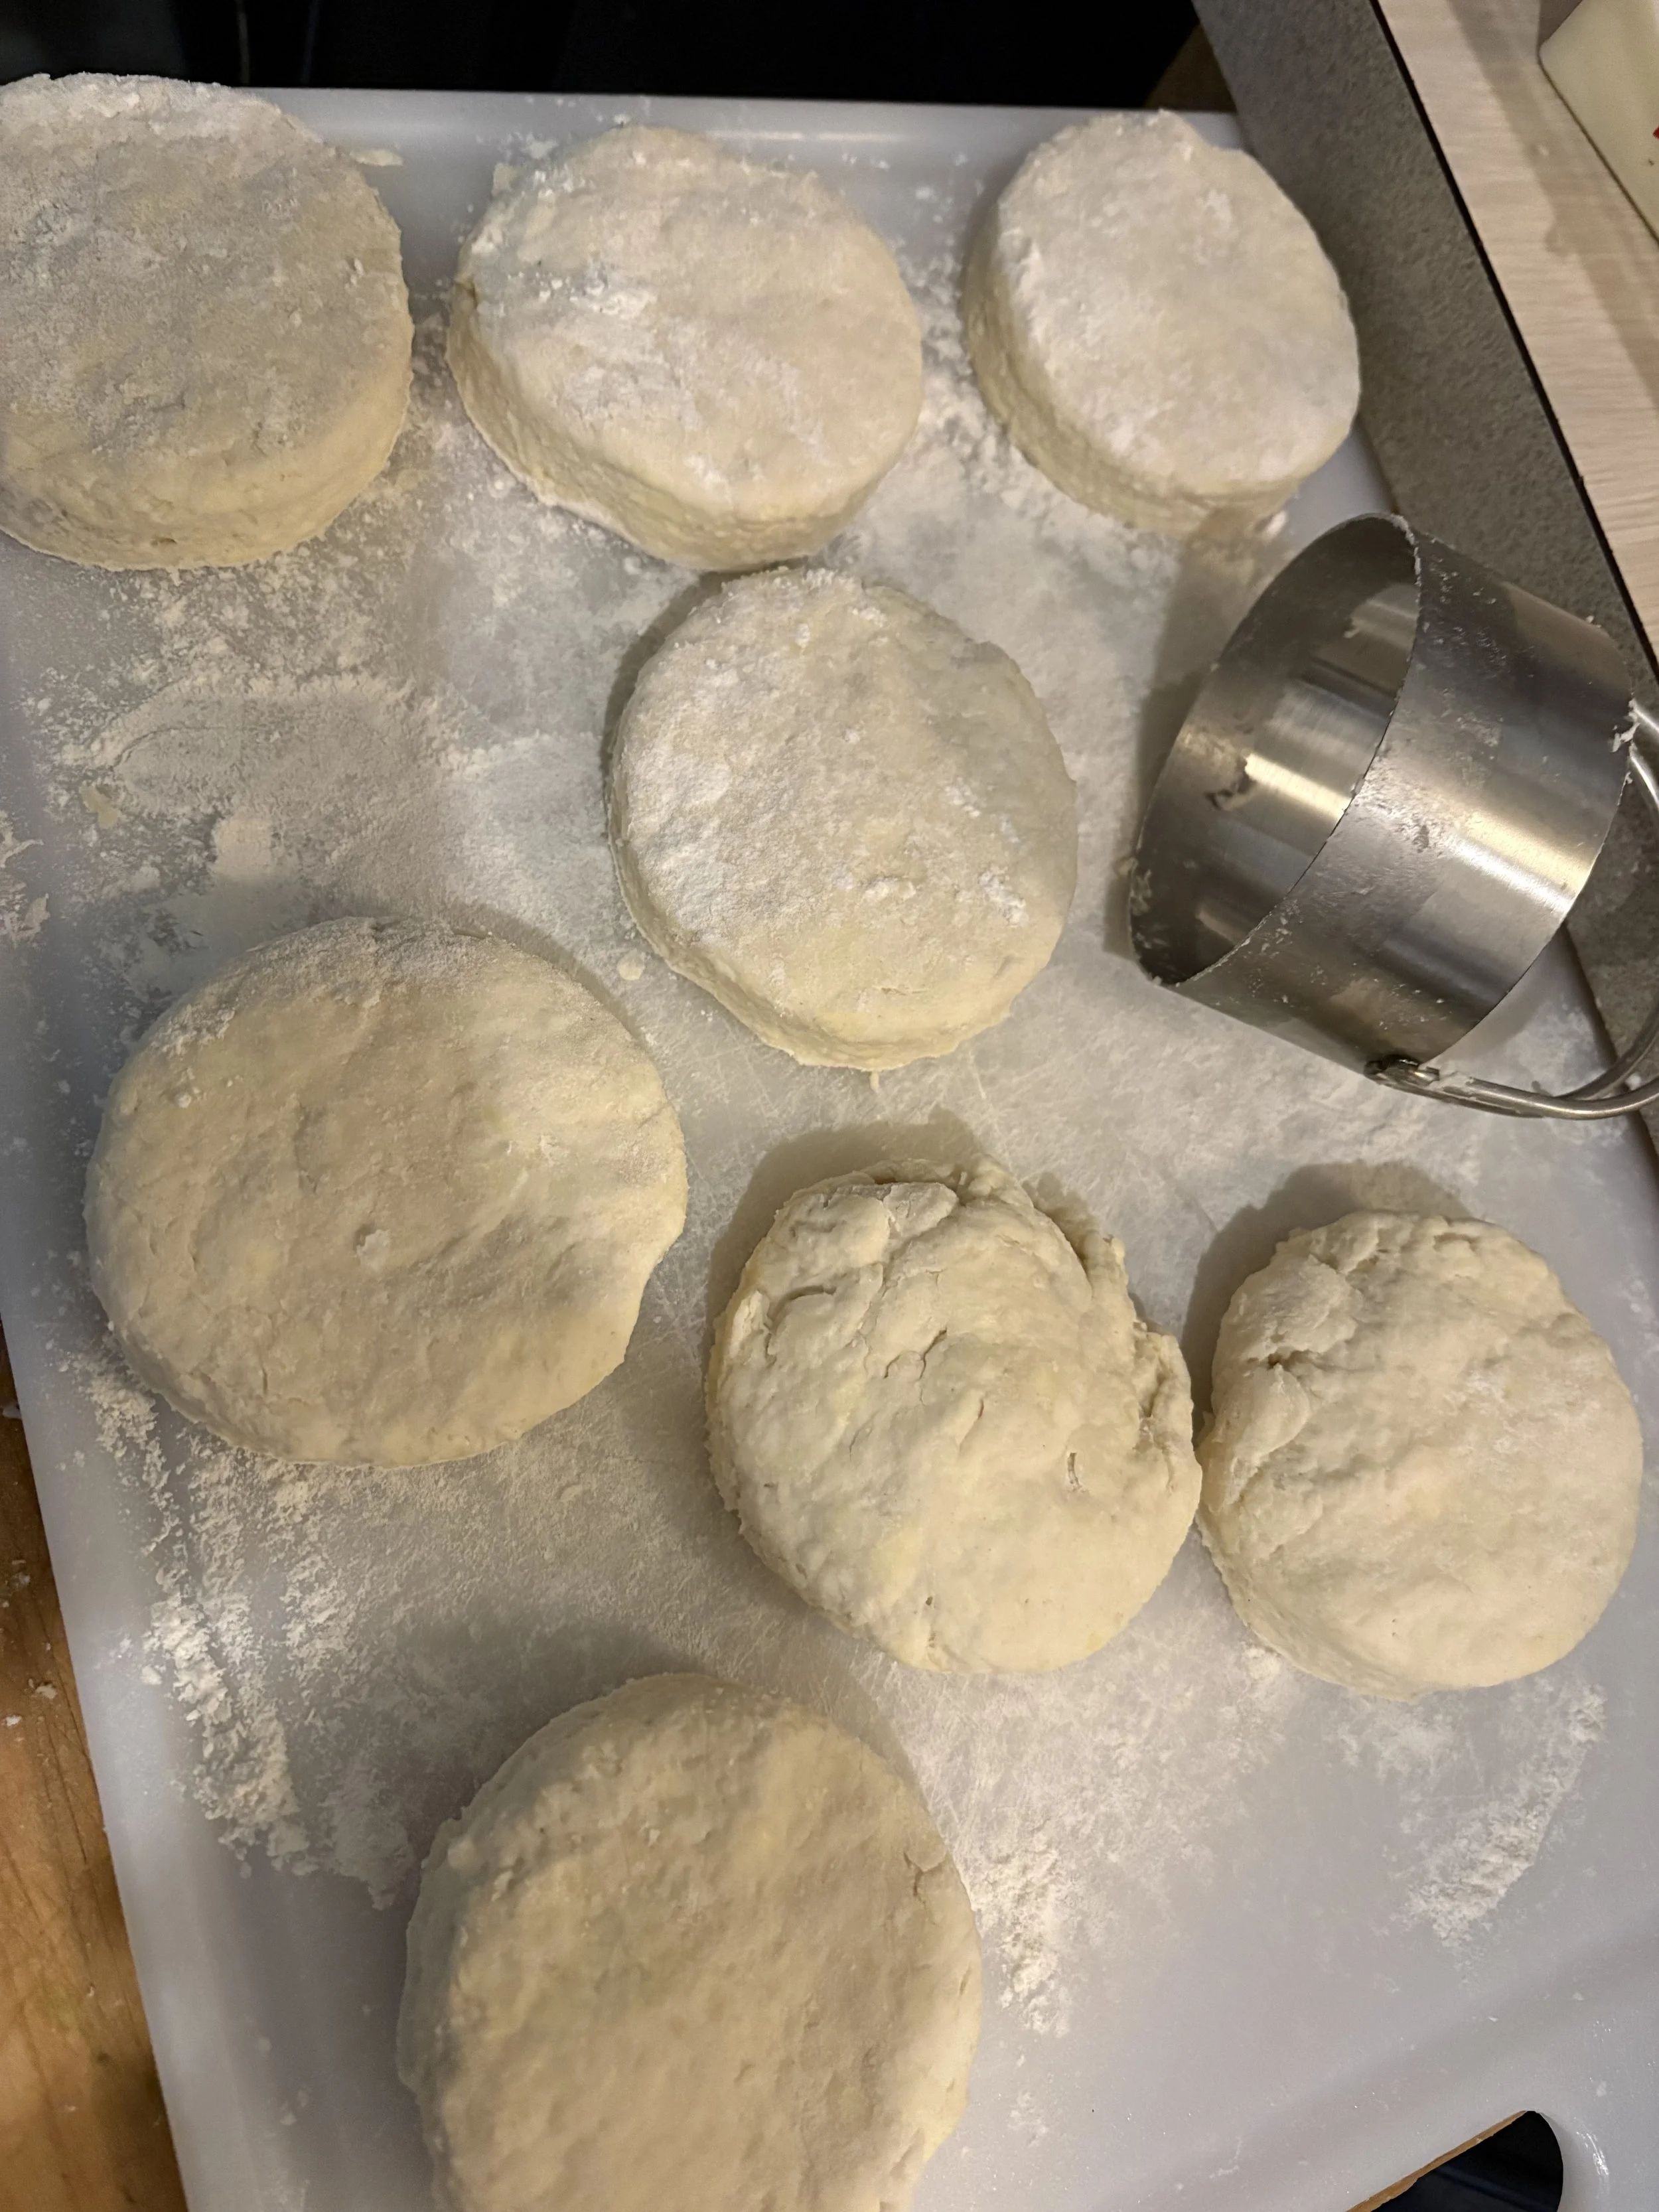
Step 4: On prepared sheet pans, spread the base of the pavlova to one big circle if doing a large one or 8 mini ones. You can also use a pipi8ng bag and a piping tip if you would like of a texture side. I just used the spatula and a spoon to keep the freeform rustic feel, I did not want these to look too fancy for the event they were going to.
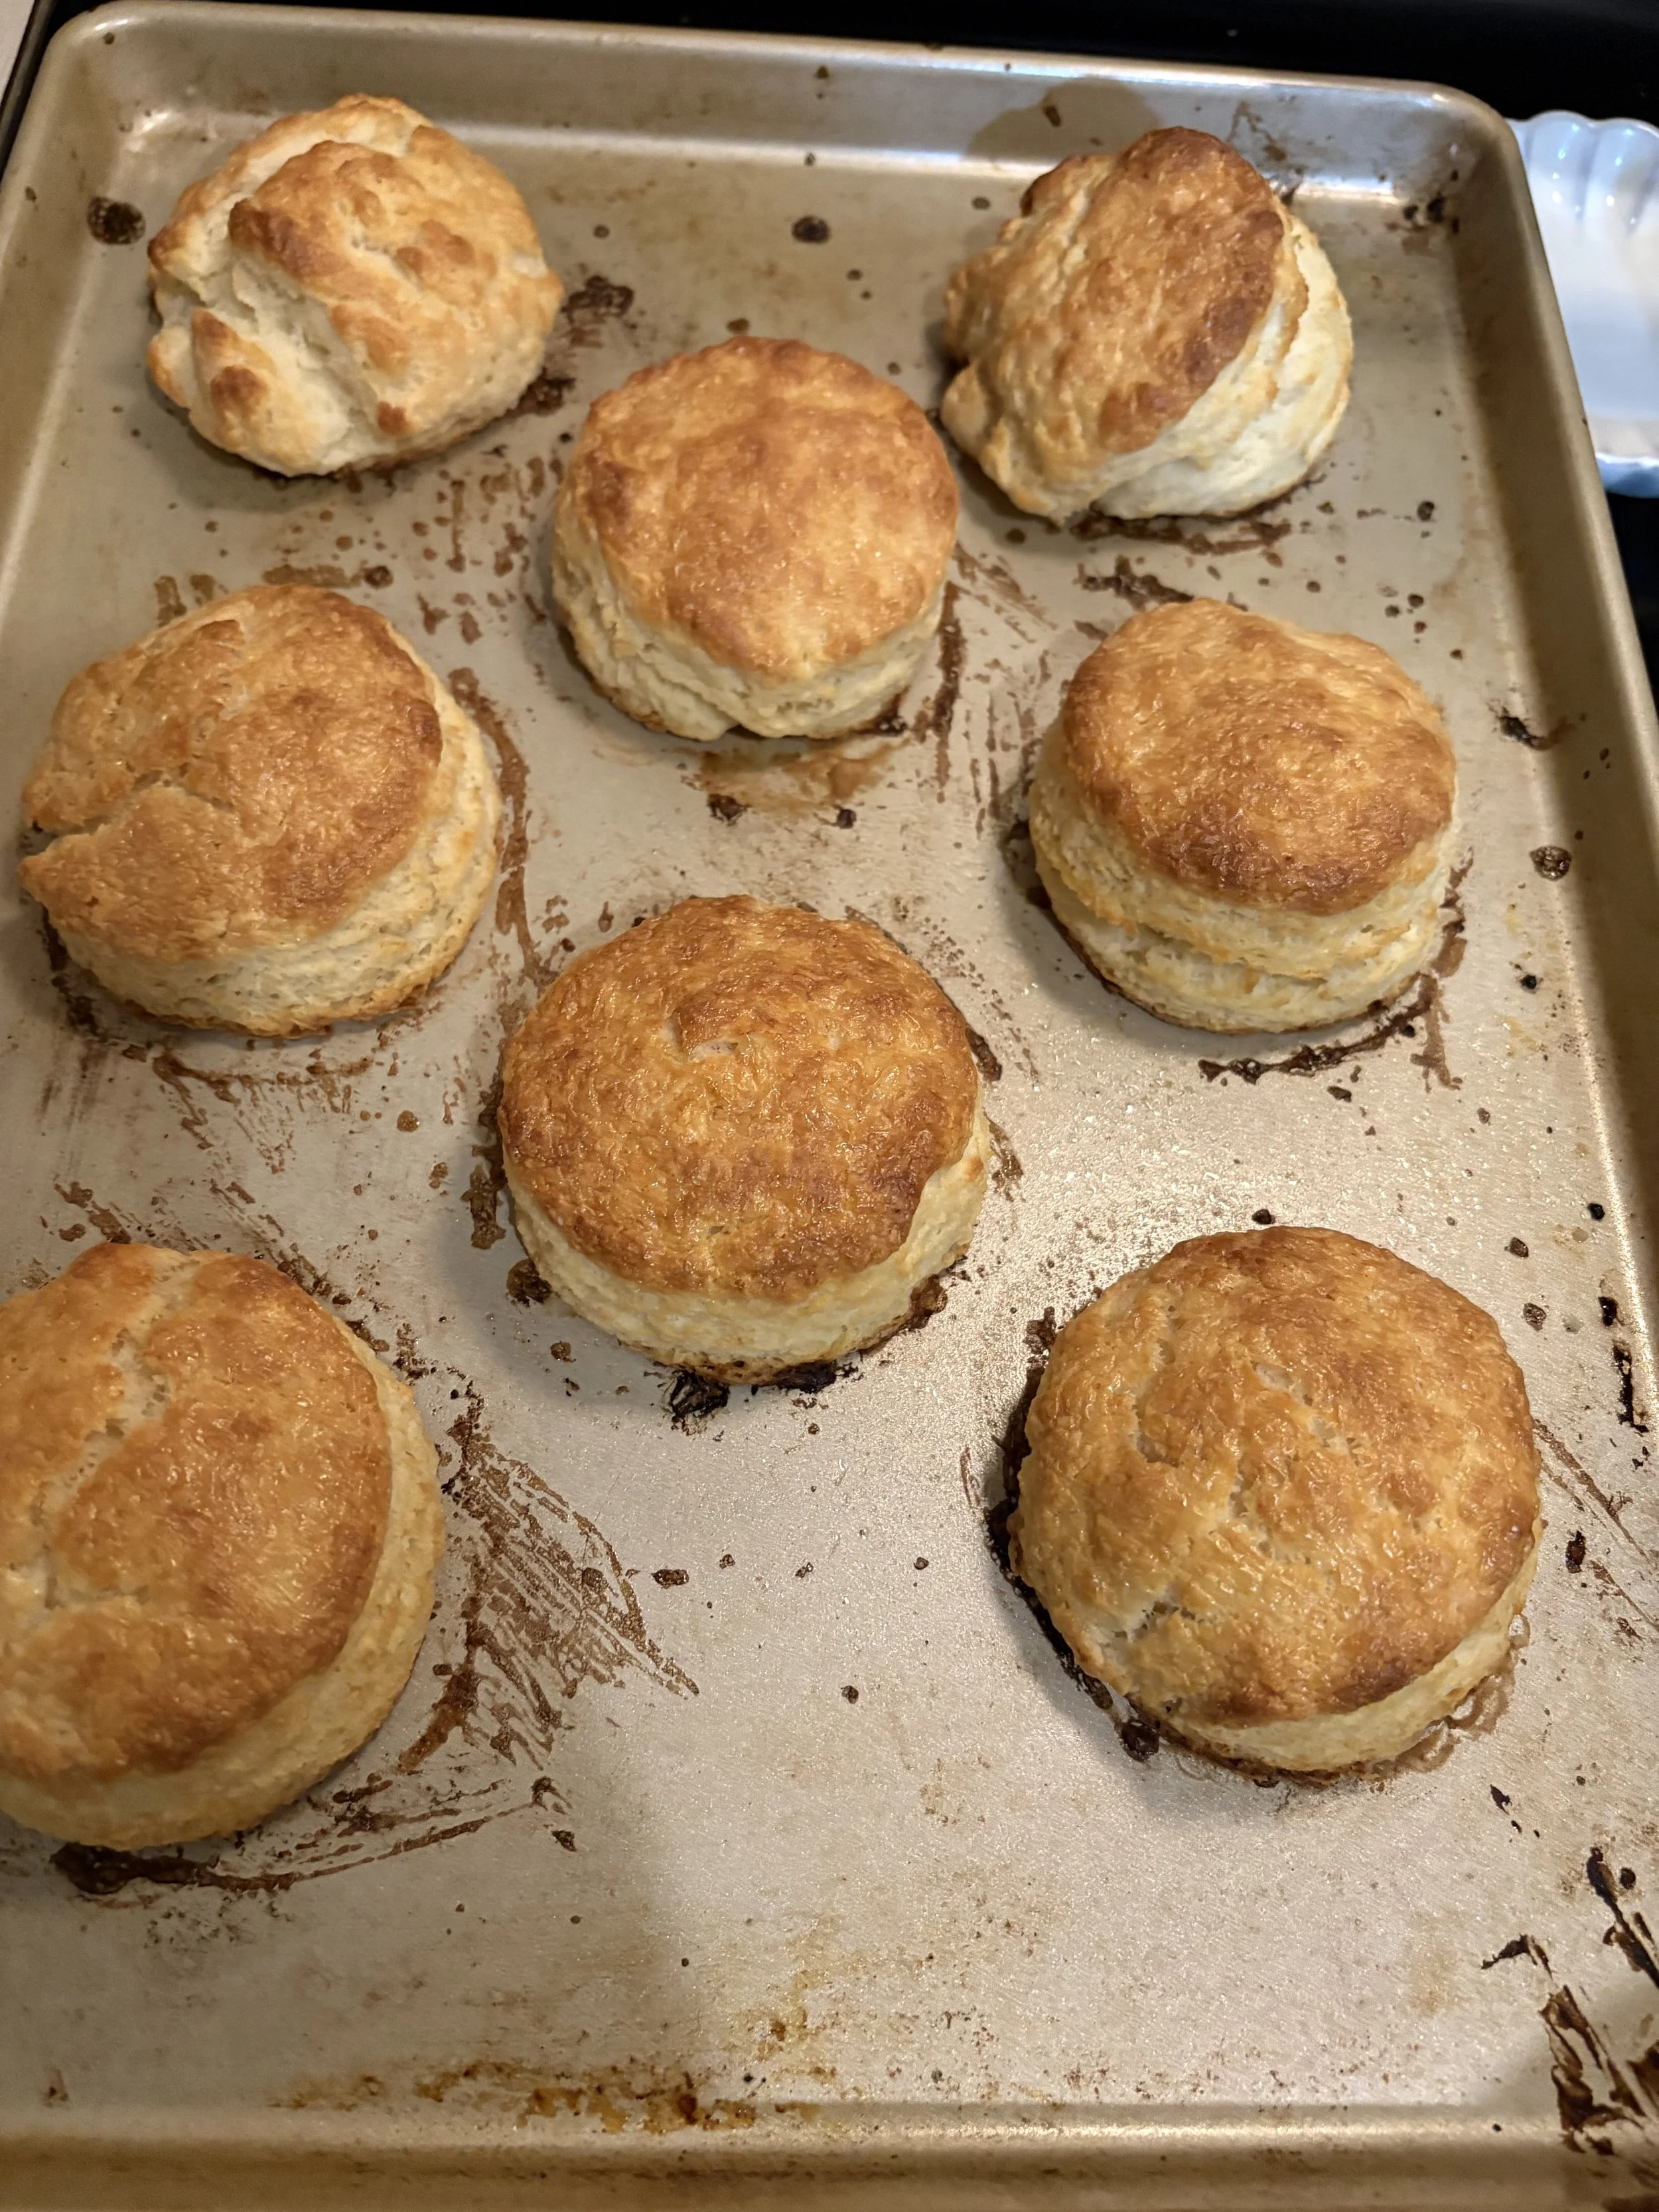
Step 5: PLace in the over at 250 and bake on a low and slow heat for 60 to 75 mins. Try not to open the oven if possible as this will lower the over temperature.
Step 6: Turn off the oven, crack the door, and let cool completely inside
Step 7: Can make one to two days ahead of time, must store in an airtight container or the moisture in the air will ruin them and make them sticky from dissolving slowly.
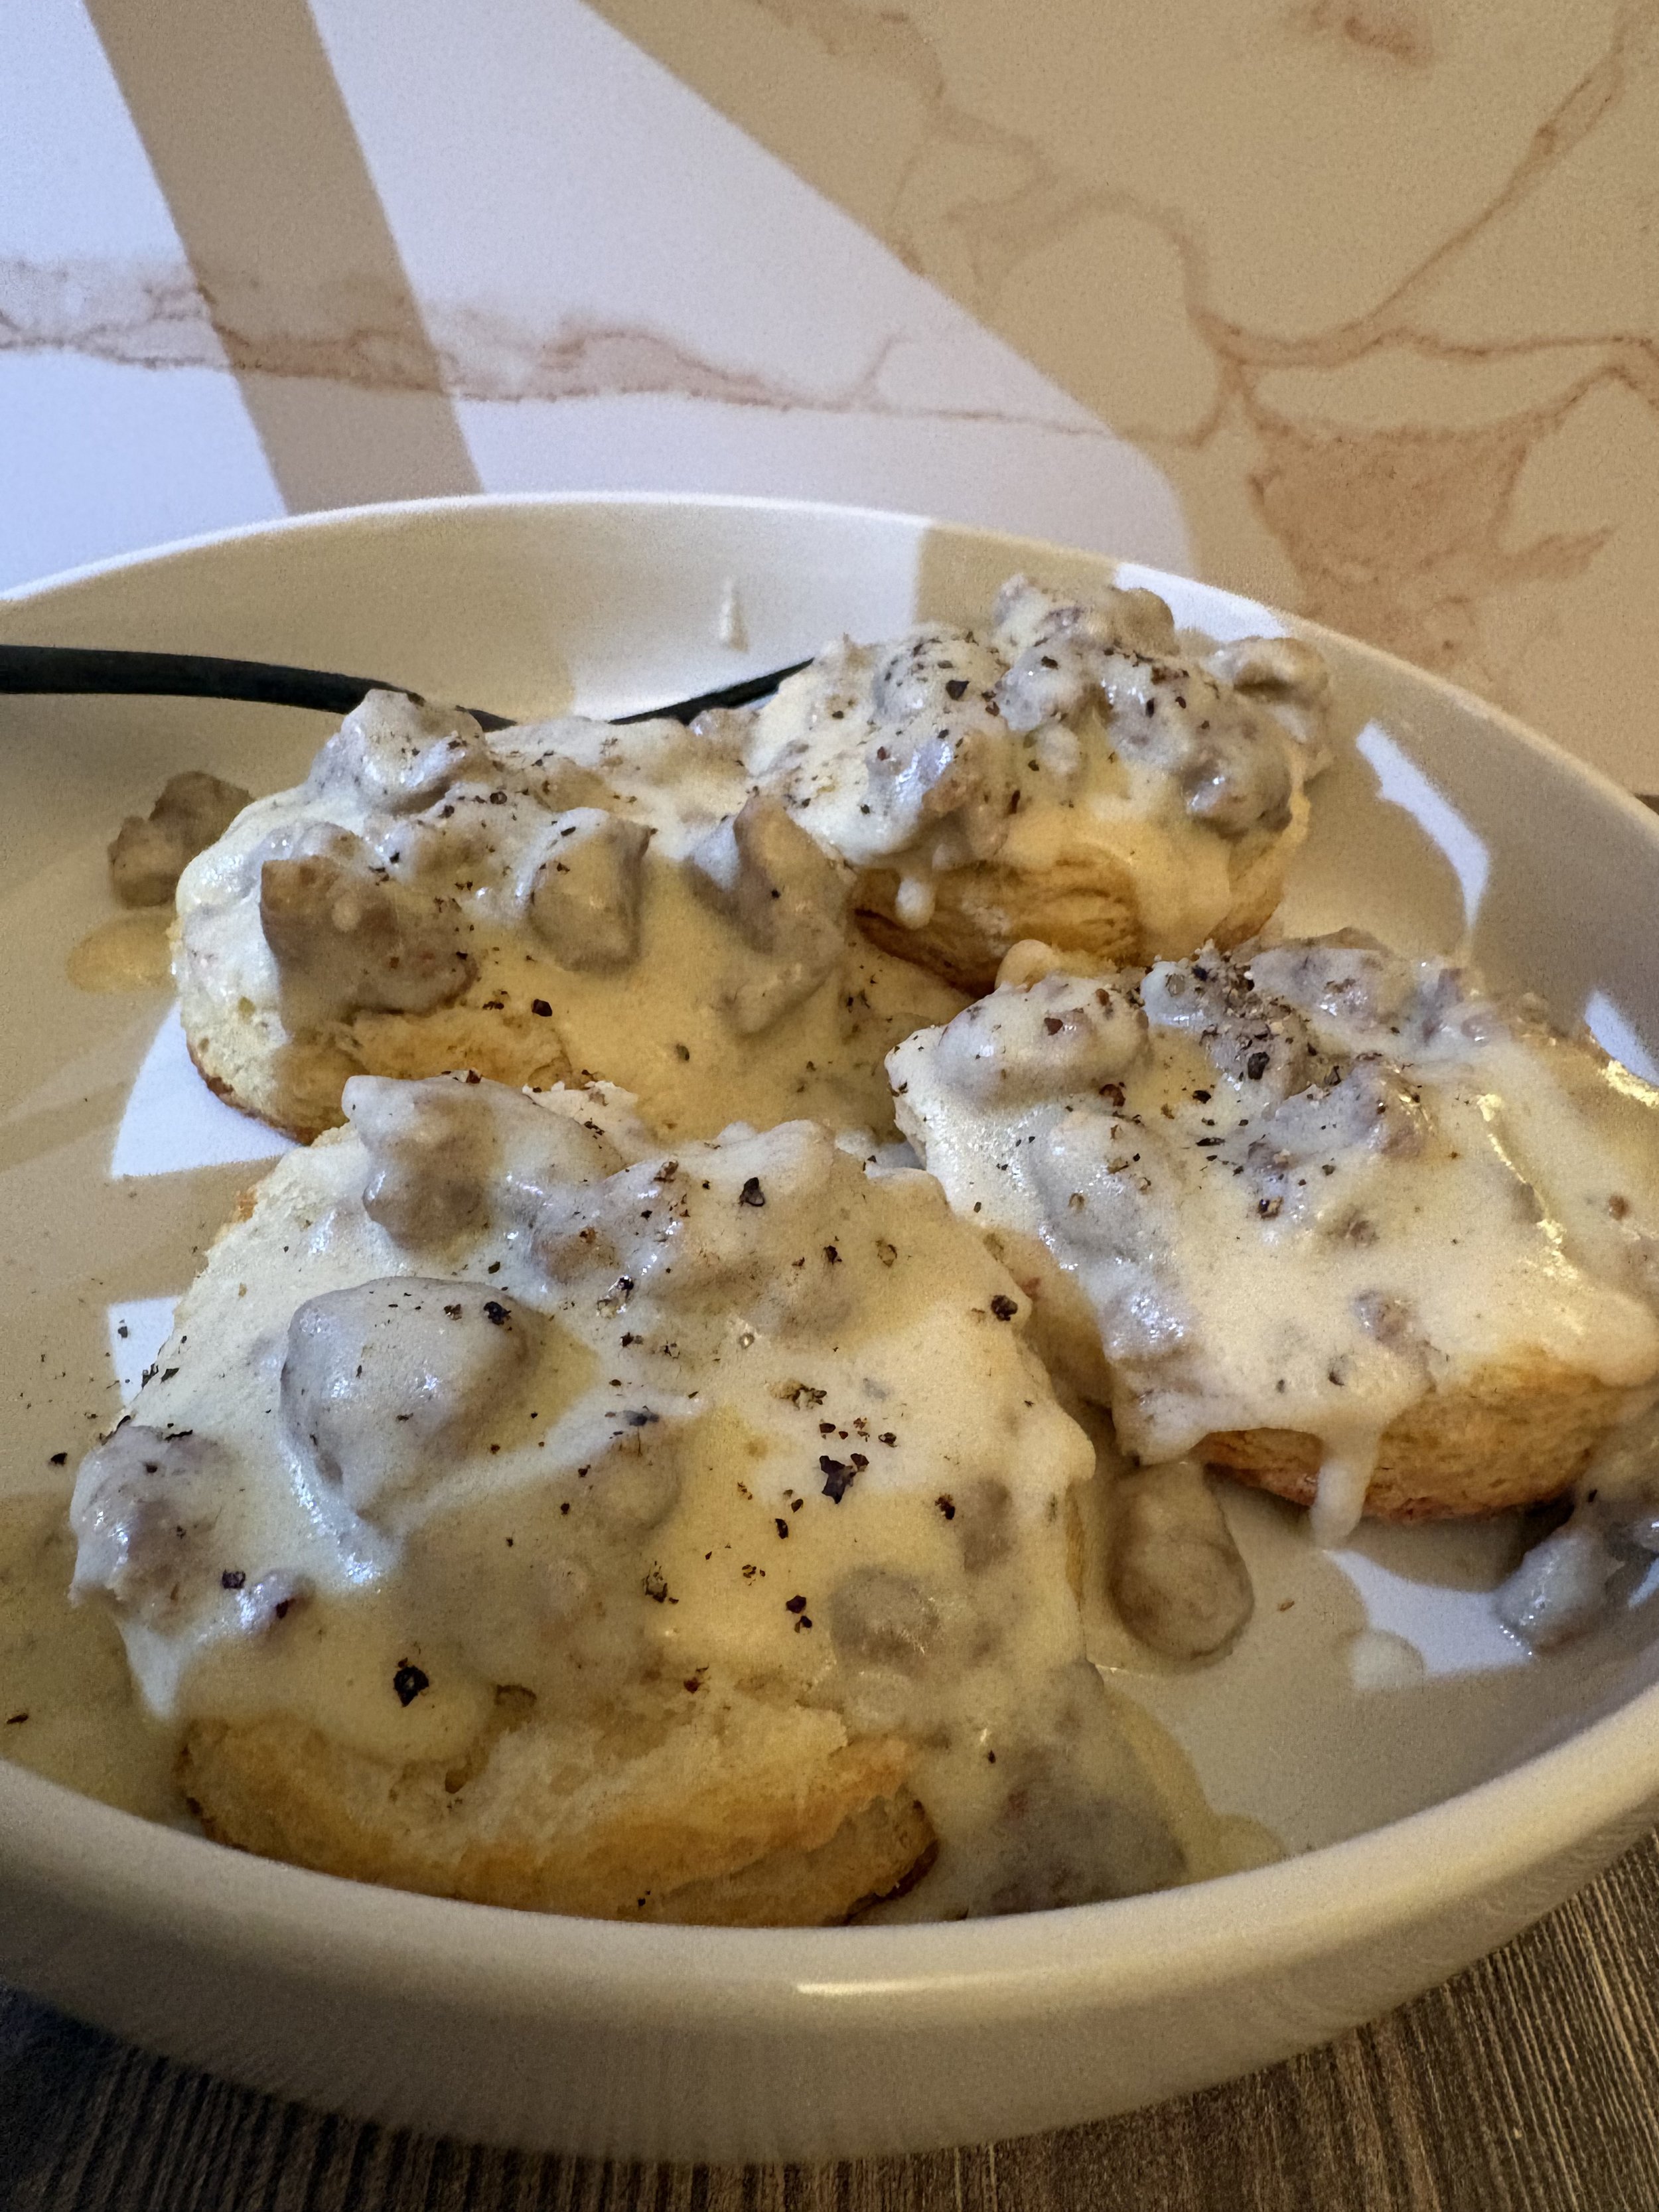
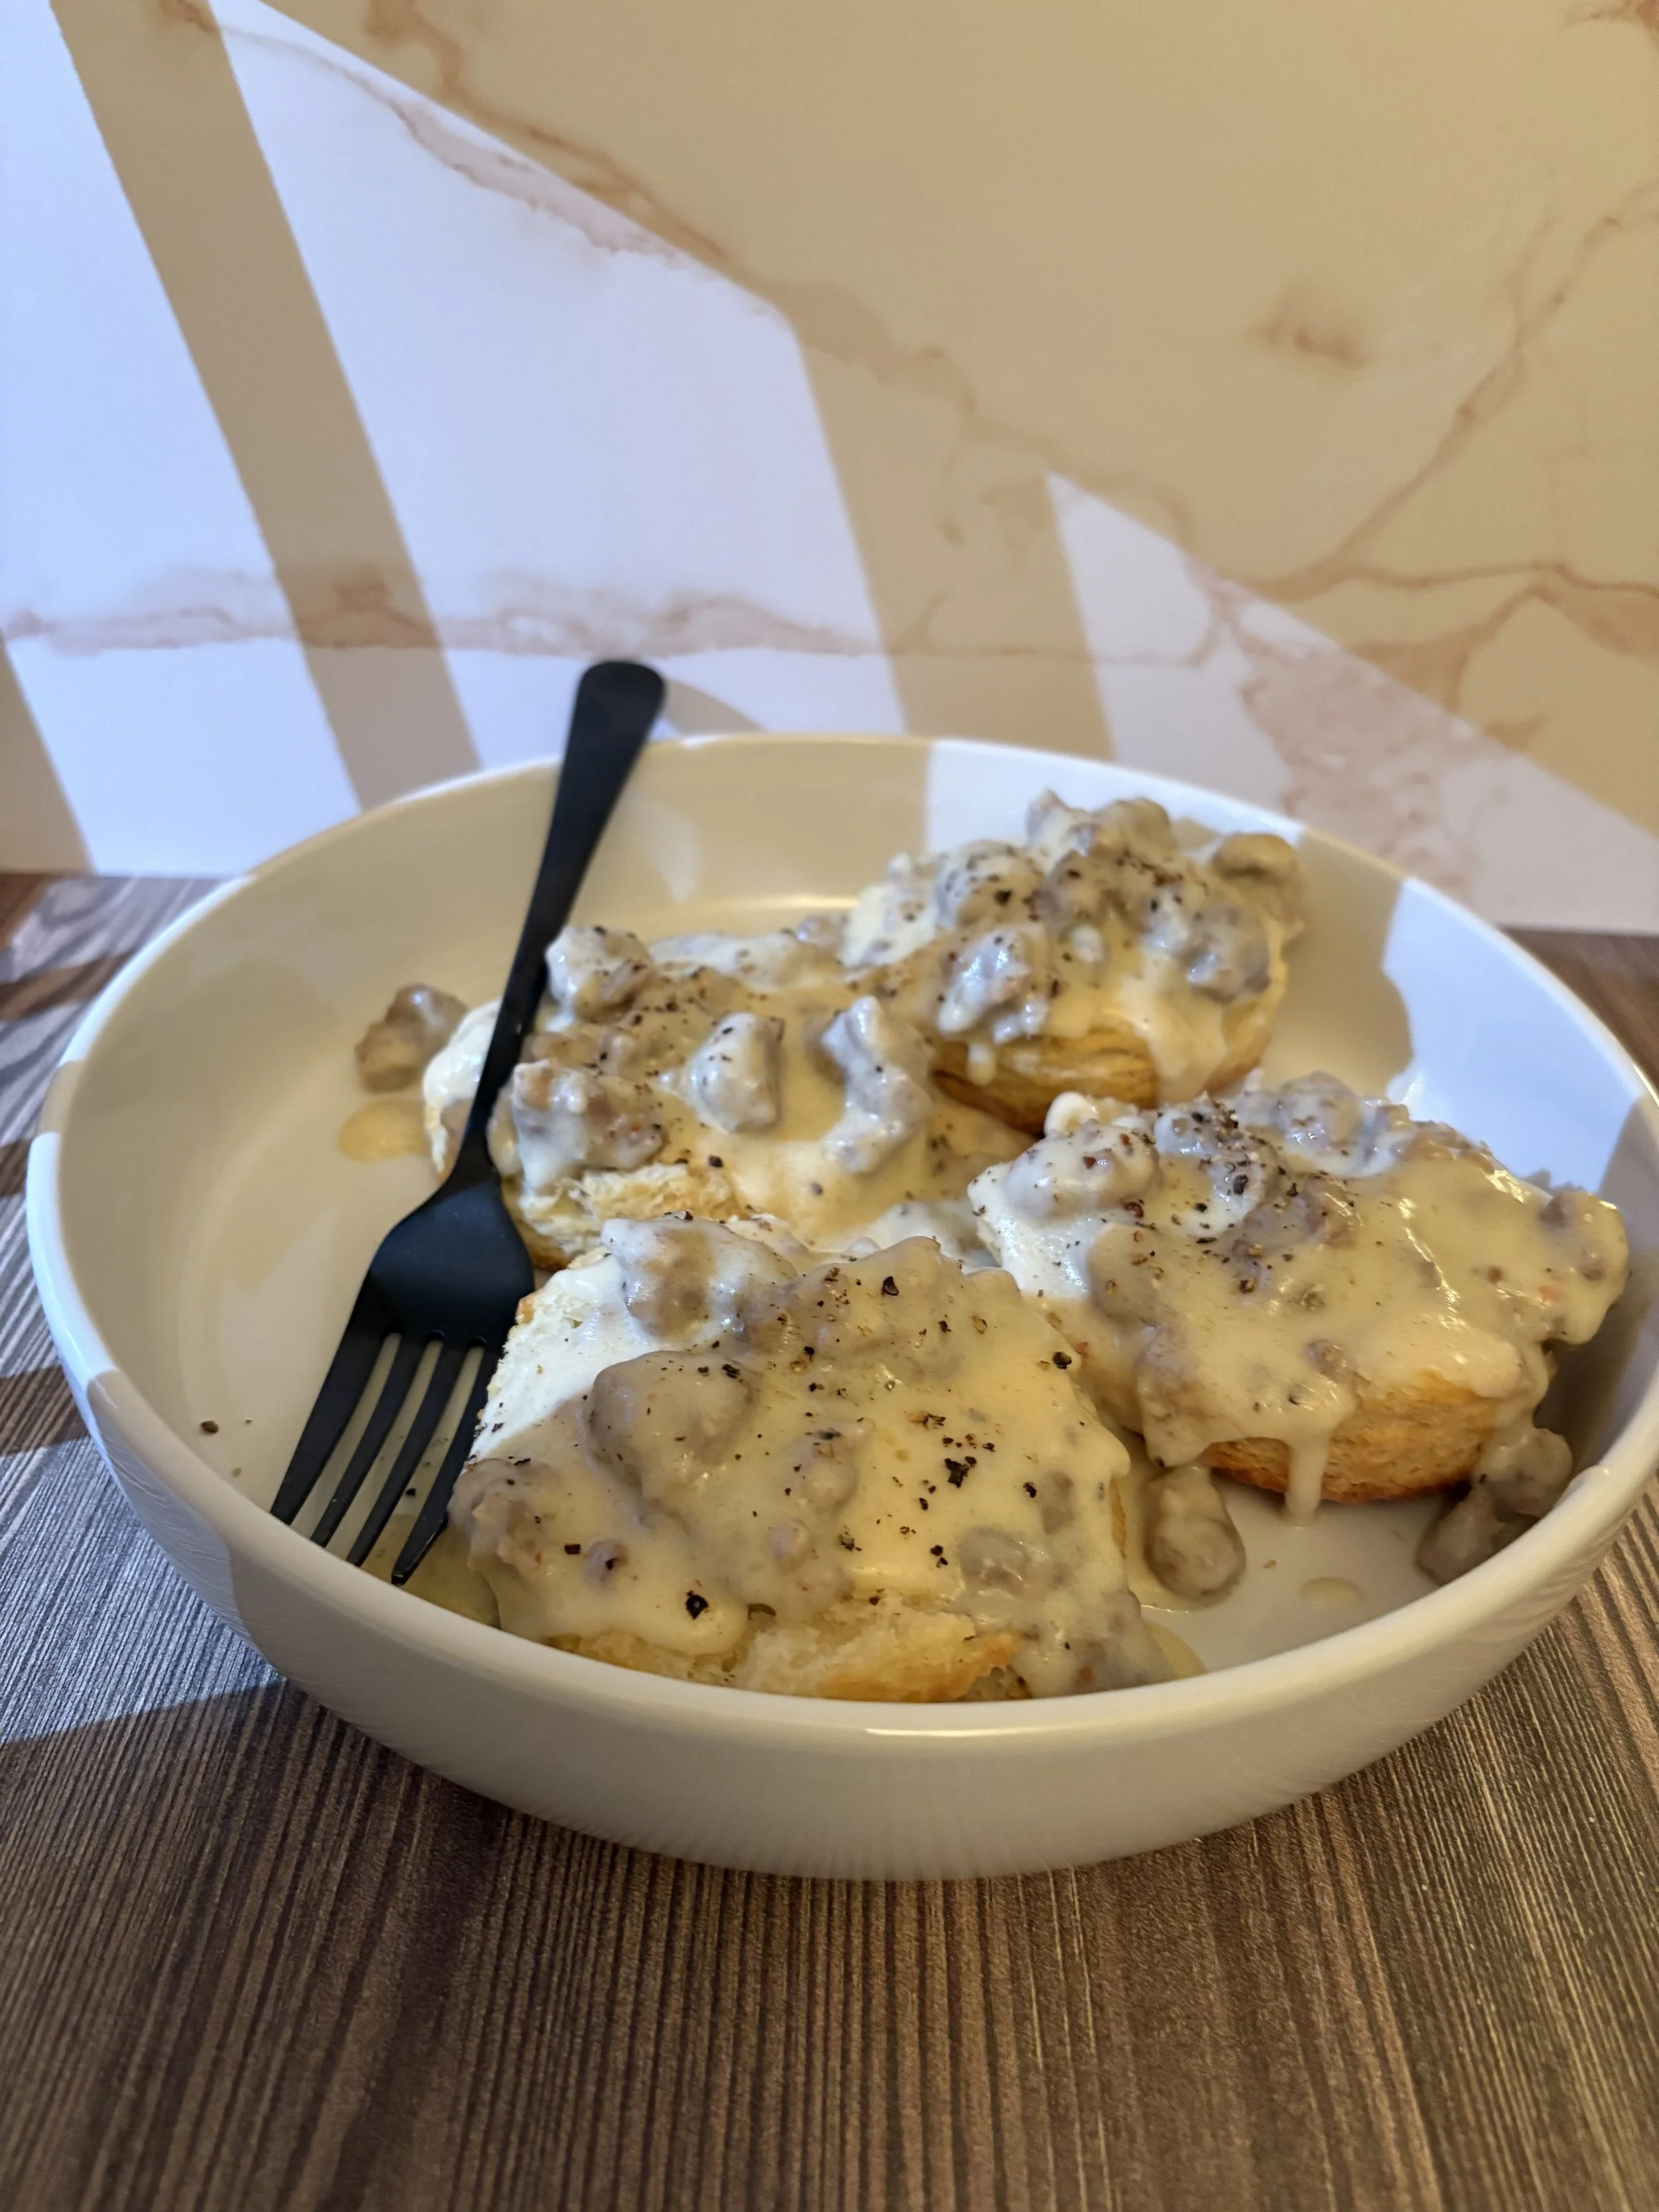
Sausage and Country Gravy
Serves: 4 - 6 People
Ingredients:
1 Pound Sausage (pork)
3T All Purpose Flour
2 1/2c Whole Milk
1/2t Salt
1 - 1 1/2t Black Pepper
Pinch of Cayenne (optional)
1T Butter (Optional for richness)
Instructions:
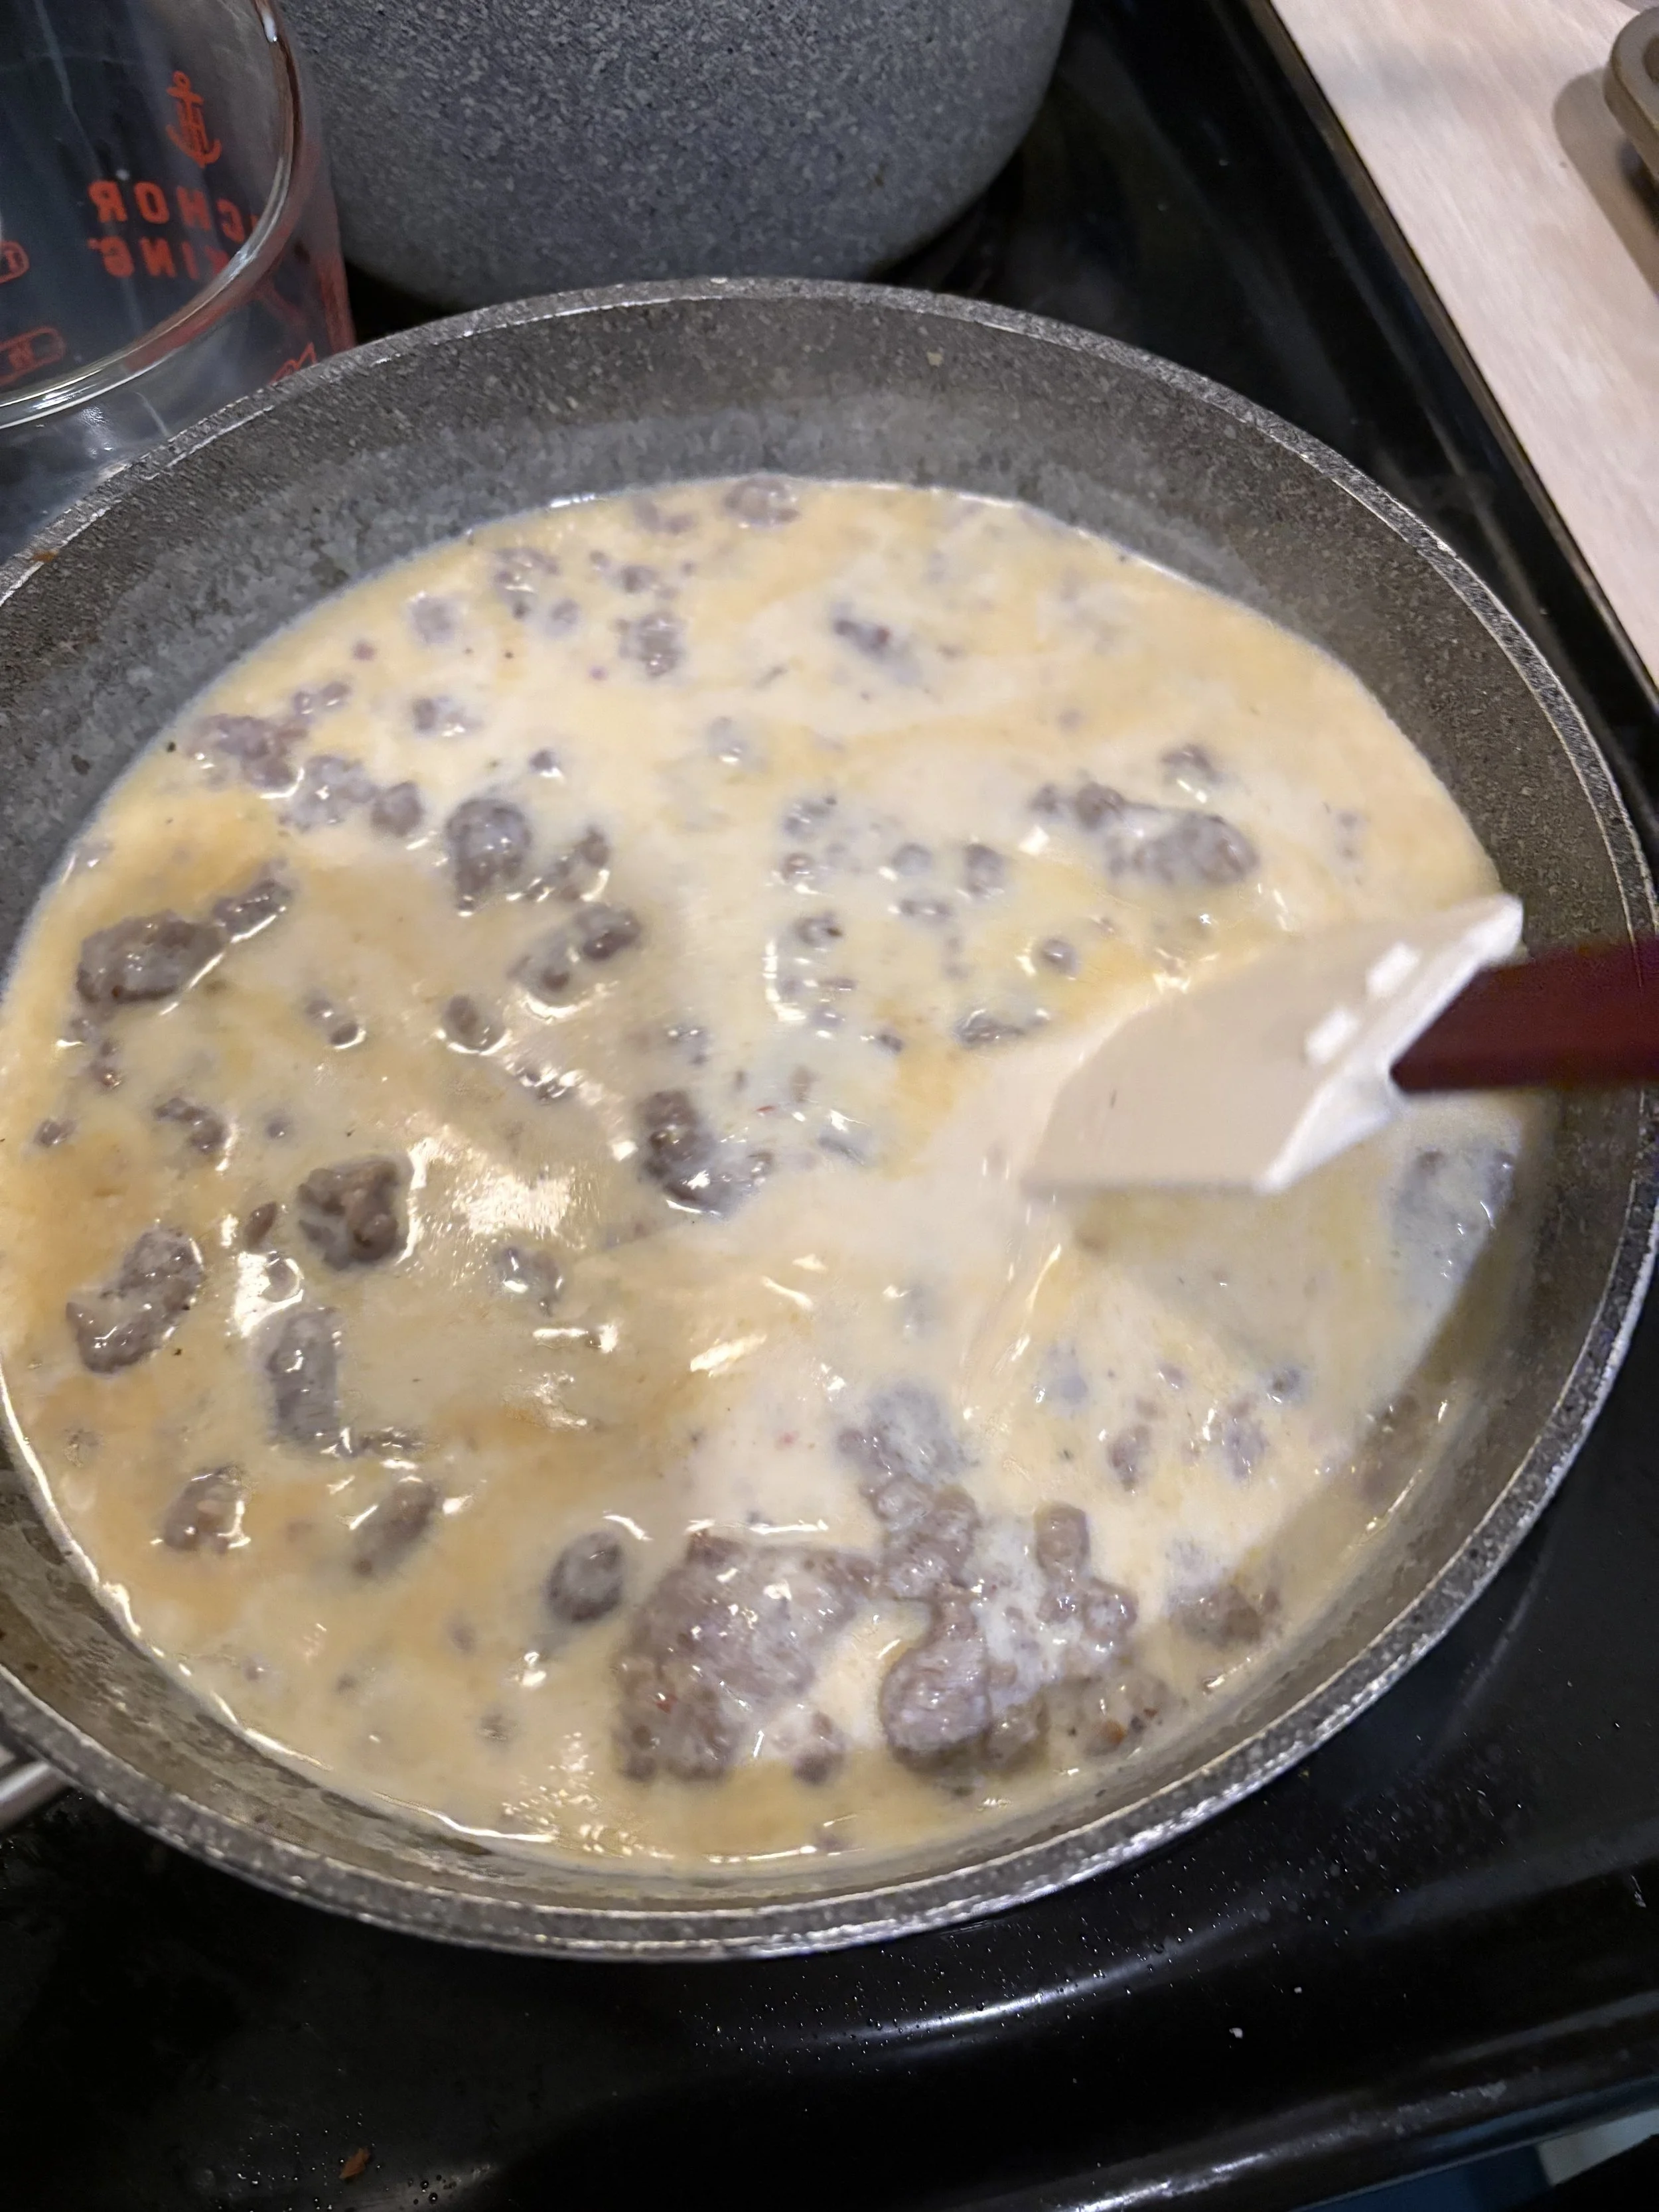
Step 1: In a skillet, brown your sausage over medium heat, approx. 6-8 mins. Do not drain the fat - this is where your flavor comes from and with help create your roux. (I never said this was healthy.)
Step 2: Making the roux - sprinkle the flour over the sausage. Stir constantly for 1 - 2 minutes to cook out the raw flour taste. The mixture will look pasty.
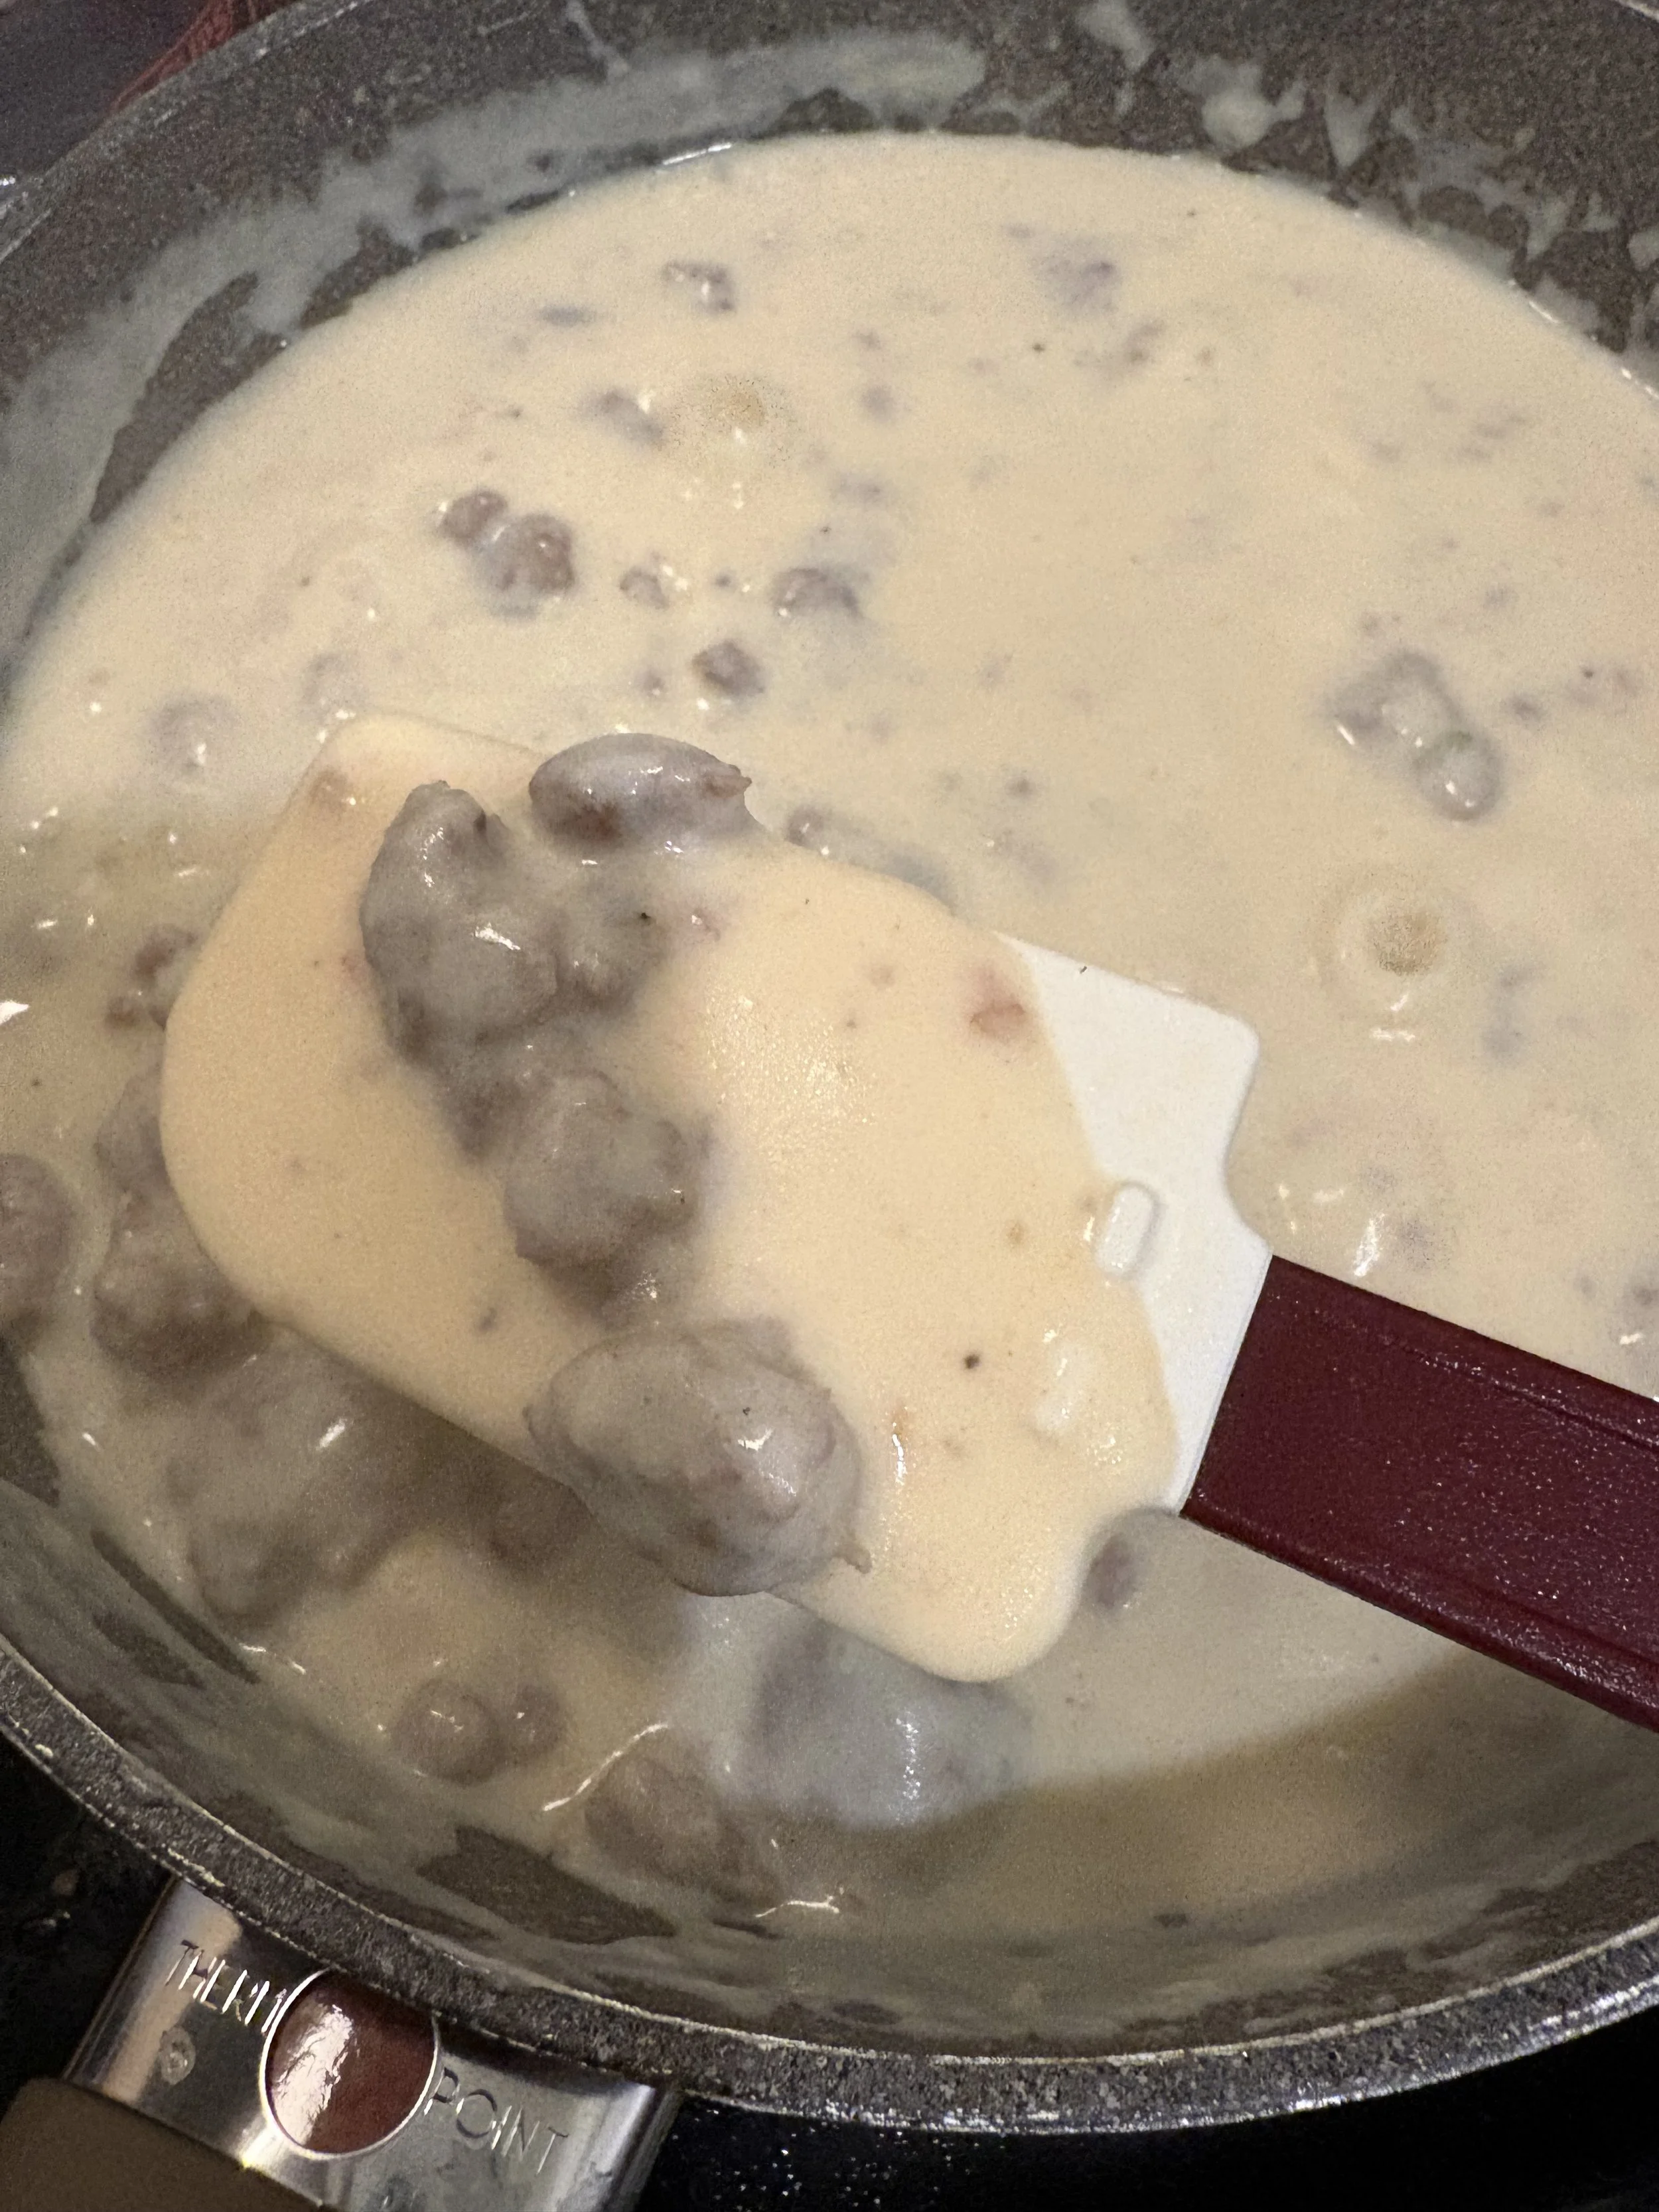
Step 3: Slowly add in the milk while stirring. This prevents lumps from forming and creates a smooth gray.
Step 4: Let the gravy simmer 5 - 7 minutes, stirring occasionally. It will thicken as it cooks, if it gets too thick just add a little milk.
Step 5: Add salt, black pepper, cayenne (optional) being sure t o taste as you go and adjust to your preferences.
Step 6: For extra richness if desired, stir in 1 Tbs butter at the end.
Marionberry Jam
Yields: 1 Cup
Ingredients:
2c Fresh or Frozen Marionberries
1/3c Granulated Sugar
1T Lemon Juice
Pinch of Salt
1t Vanilla Extract (Vanilla Bean Paste is better in my opinion)
Instructions:
Step 1: Add marionberries to a small saucepan over medium heat. As they warm, mash them gently with a spoon or potato masher.
Step 2: Stir in sugar, lemon juice, and salt. Let the mixture simmer 8 - 10 minutes stirring occasionally.
Step 3: For a chucky rustic jam, leave it as is. For a smoother jam, mash berries more as they cook. If you want it thicker, stir in a cornstarch slurry. (just cornstarch and water)
Step 4: Remove from heat and stir in vanilla extract or vanilla bean paste.
Step 5: Let it cool slightly - the jam will thicken as it cools. Store in the fridge for 2 - 3 weeks.
Breakfast Sandwiches
Topping Ideas:
Bacon - Sausage Patty - Crispy Chicken - Arugula - Honey Butter - Marrionberry Jam
Cheddar Cheese - Gouda Cheese - Havarti Cheese - Hot Honey - Pepper Jelly
Hashbrowns - Avocado - Sliced Tomato - Pickled Red Onions - Chipotle Mayo
Fried Egg - Soft Scrambled Egg - Poached - Quick Pickles - Garlic Aioli - Dijon Mustard
Elevated Biscuit Sandwich Ideas
Bacon + Egg + Marrionberry Jam
Sauage + Egg + Marrionberry Jam
Fried Chicken + Honey
Ham + Egg + Apple Butter
Bacon + Egg + Pepper Jelly
Notes:
Difference between fluffy and whipped: Whipped is typically accomplished with a whisk attachment, the main difference is with whipped you have incorporated and captured air in the butter resulting in a airy cake like cookie rather than a chewy cookie.
Why fold in the chocolate: By folding in the chocolate you avoid over mixing the cookie dough batter and maintaining the structure established when beating the butter until fluffy.
Sheet pan placement: When scooping out dough and placing on pan to chill, you can place together with no space in between to save space in your fridge
Why are we chilling the dough: Chilling your dough helps with the cookie spreading when you bake it as well as the chewiness of the cookie.
Why do you put salt on before the fridge: We are simply putting the salt on now so that it stick to the top of the cookie before chilling and remains intact when baking.