The Perfect Sunday Afternoon Cookie
Some recipes are made for unhurried days - the kind of Sunday afternoons where the house is quiet, the oven slowly heats up, and there is no where else you need to be. No laundry to fold, bathrooms to clean, or floors to mop. This cookie was made for those moments, made to be enjoyed on the couch with family watching a movie. Thick, bakery-style, and filled with melty pockets of chocolate, it’s finished with a sprinkle of flakey sea salt that perfectly balances everything. It’s the cookie you bake “just because,” meant to be enjoyed warm, shared generously, and savored slowly - one cozy bite at a time.
Before I ever stepped in to my baking classes at night, these cookies had already found a place in my culinary school days. One of the advanced culinary chefs would occasionally ask me to make them for his T3 class, which were the culinary students that were about to go out on their internships. I’d come in two hours early, slipping into an empty culinary kitchen while the building was still quiet, and I would bake a batch after batch before his class began and before my class started. The smell of warm butter and melty chocolate fill the space and instilling memories that would last a lifetime before I even knew these would be some of my favorite core moments from this time in my life. Over time, a few other chefs asked me to do the same for their classes, and I loved it more than I could have ever expected. It felt like my cookie - something only I made for them - and seeing the simple joy it brought made those early mornings feel like a gift.
In many ways, this recipe still carries the same intention. It’s a cookie meant to be shared, baked with care, and enjoyed warm - an offering of comfort, gratitude, and joy just as it was back then. Below, I will walk you through exactly how to make these thick, bakery-style chocolate chip cookies, finished with flaky sea salt - so you can bring a little of that Sunday afternoon feeling into your own kitchen.
Thick and Chewy Chocolate Chip Cookies
Yields: 24 4oz cookies - massive; personally the best way
Ingredients:
20oz Unsalted Butter, Soft but cool
20oz Dark Brown Sugar
8oz Granulated Sugar
2 large eggs
2 egg yolks
1T + 1t Vanilla Bean Paste or Vanilla Extract
1t Baking Soda
1t Baking Powder
1.5t Salt
26oz All Purpose Flour
2oz Cornstarch
24 - 28oz Semi Sweet Chocolate Chips or Chopped Chocolate
Instructions:
Prep: Preheat your over to 375 degrees when ready to bake, please note after scooping these cookies you will need to chill for at least two hours but overnight is much better. See notes below on why we chill the dough.
Step 1: In a stand mixer fixed with a paddle attachment, cream butter and sugars together for 2 to 3 mins until fluffy, NOT whipped. See notes below for difference.
Step 2: On speed 1, slowly add eggs, yolks, and vanilla until combined.
Step 3: In a separate bowl mix together dry ingredients, add to butter mixture. Be sure to only mix together only until no dry sport remain.
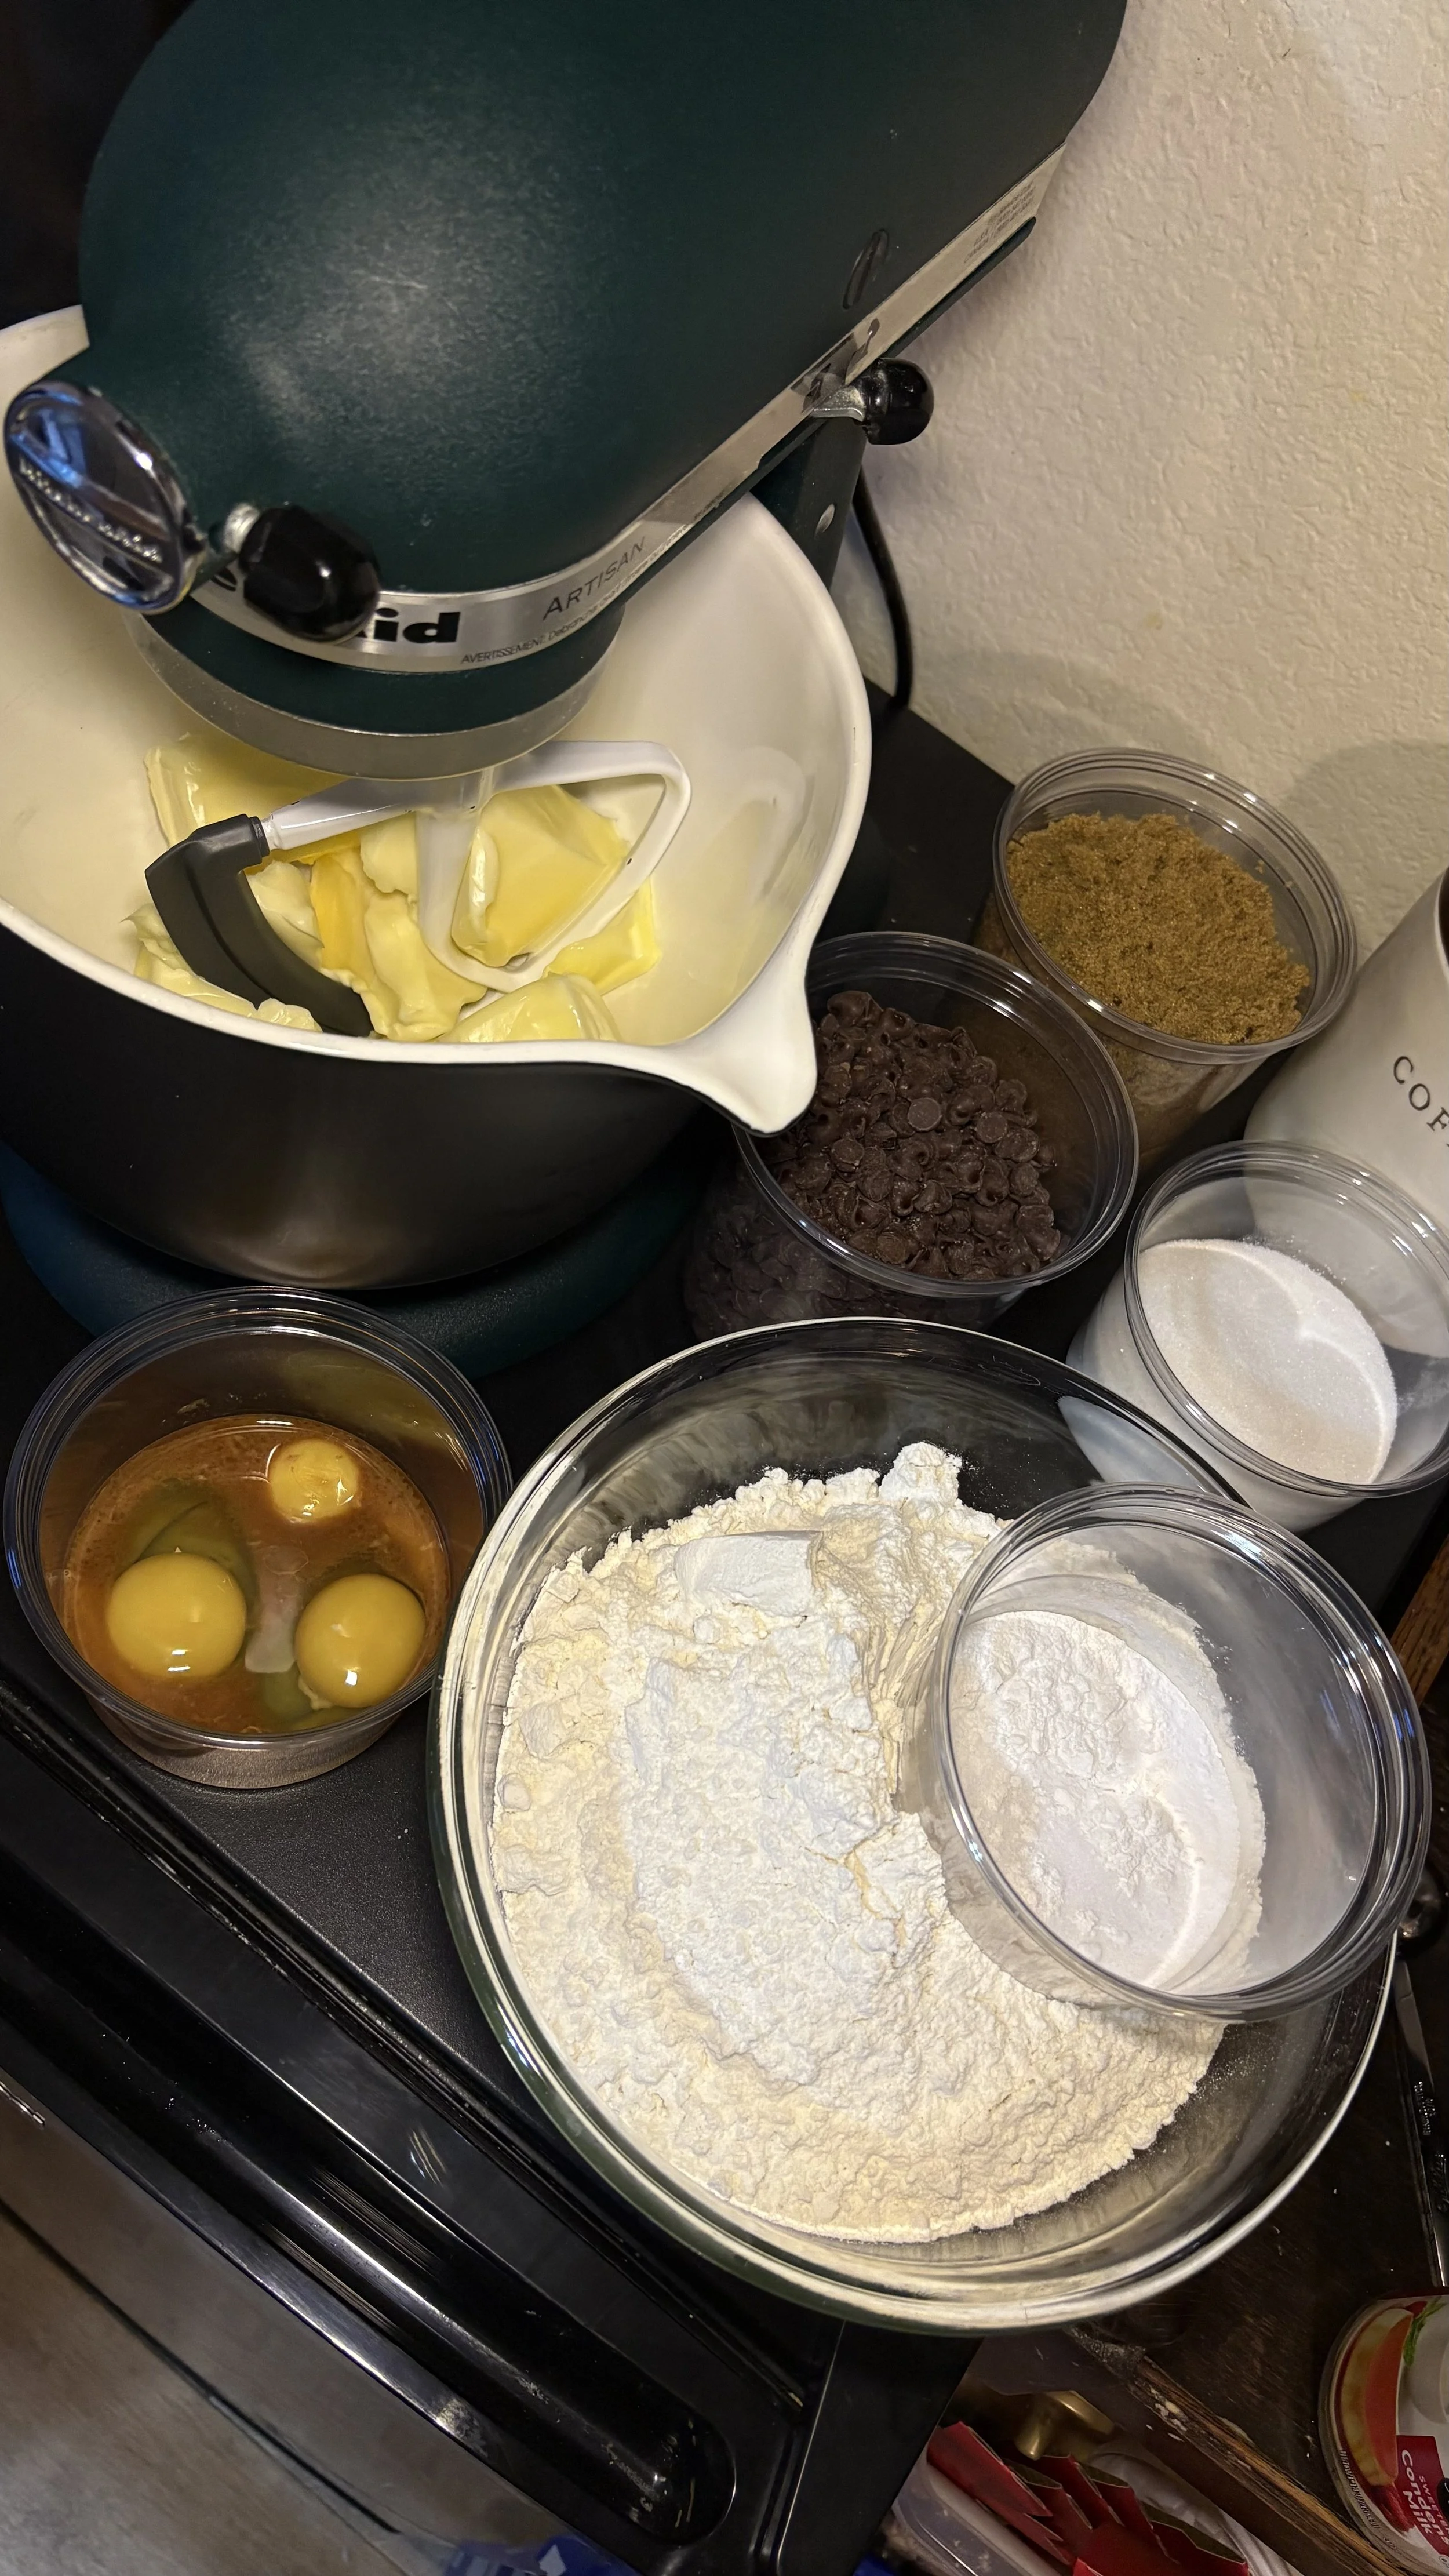
Note: I recommend scaling everything out before you even start the process for a smoother and less stressful bake. Image One.
Step 4: Remove bowl from stand mixer, using a rubber spatula fold in chocolate. See notes below for reason for folding.
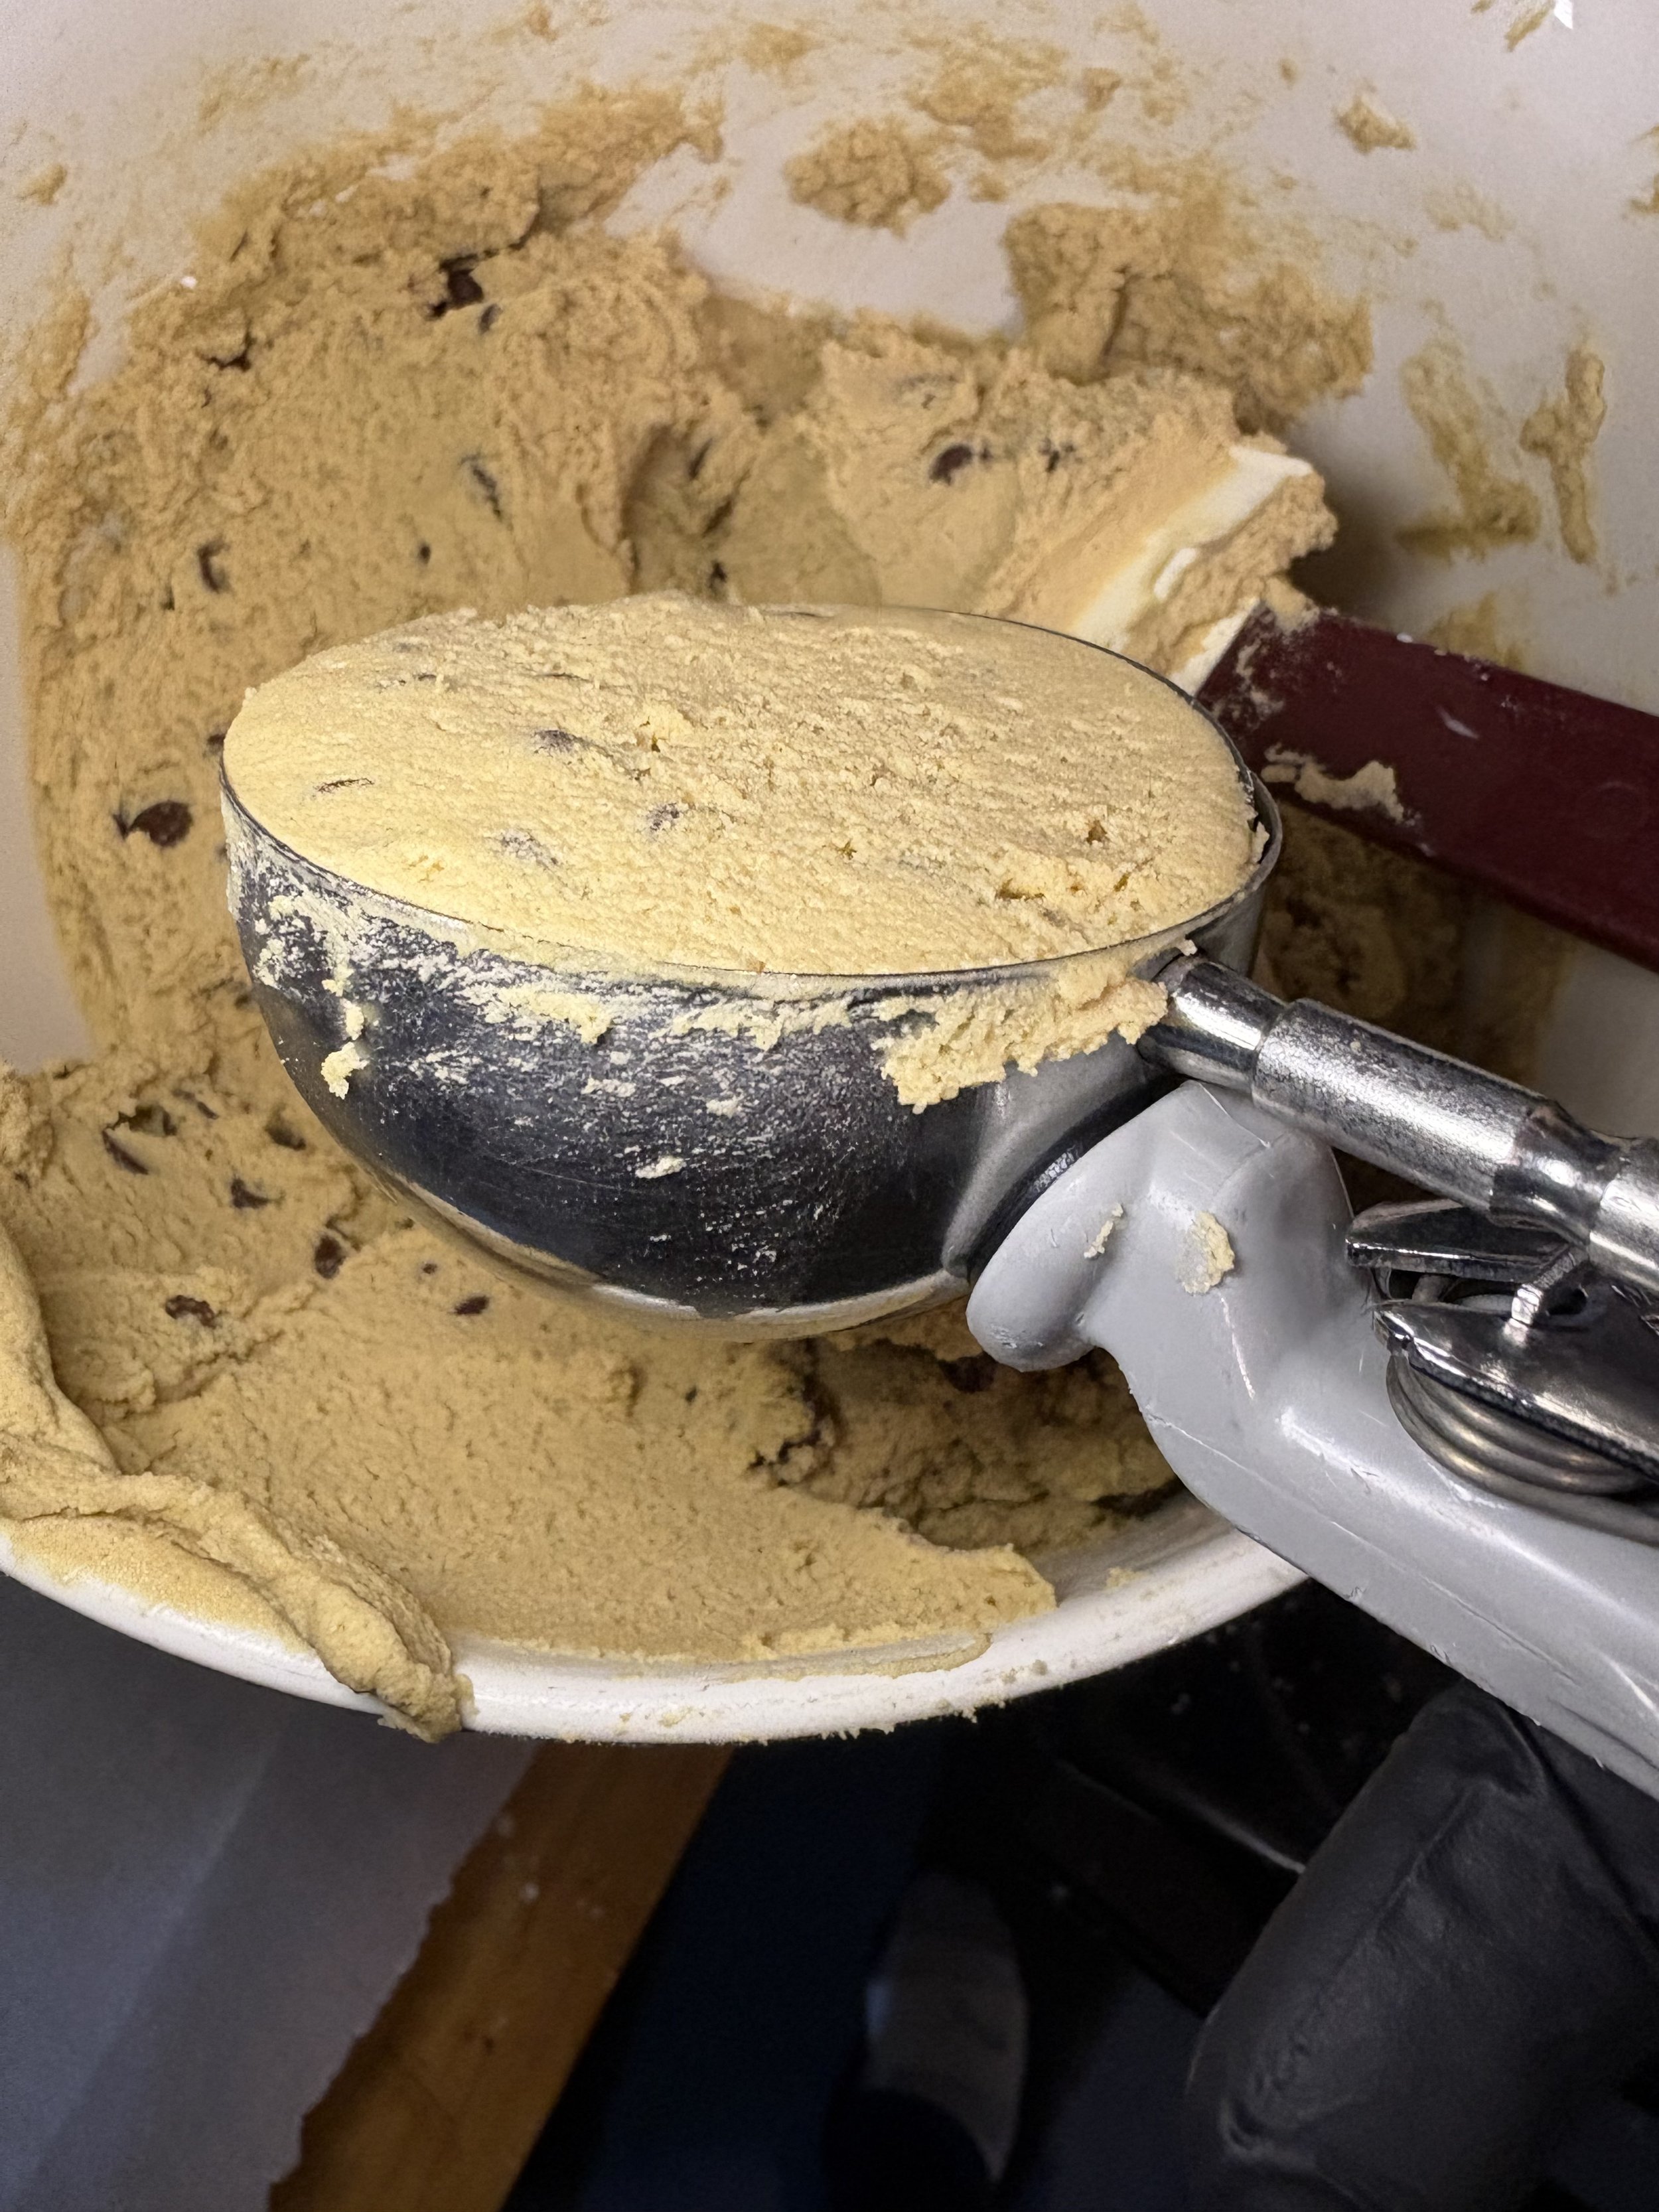
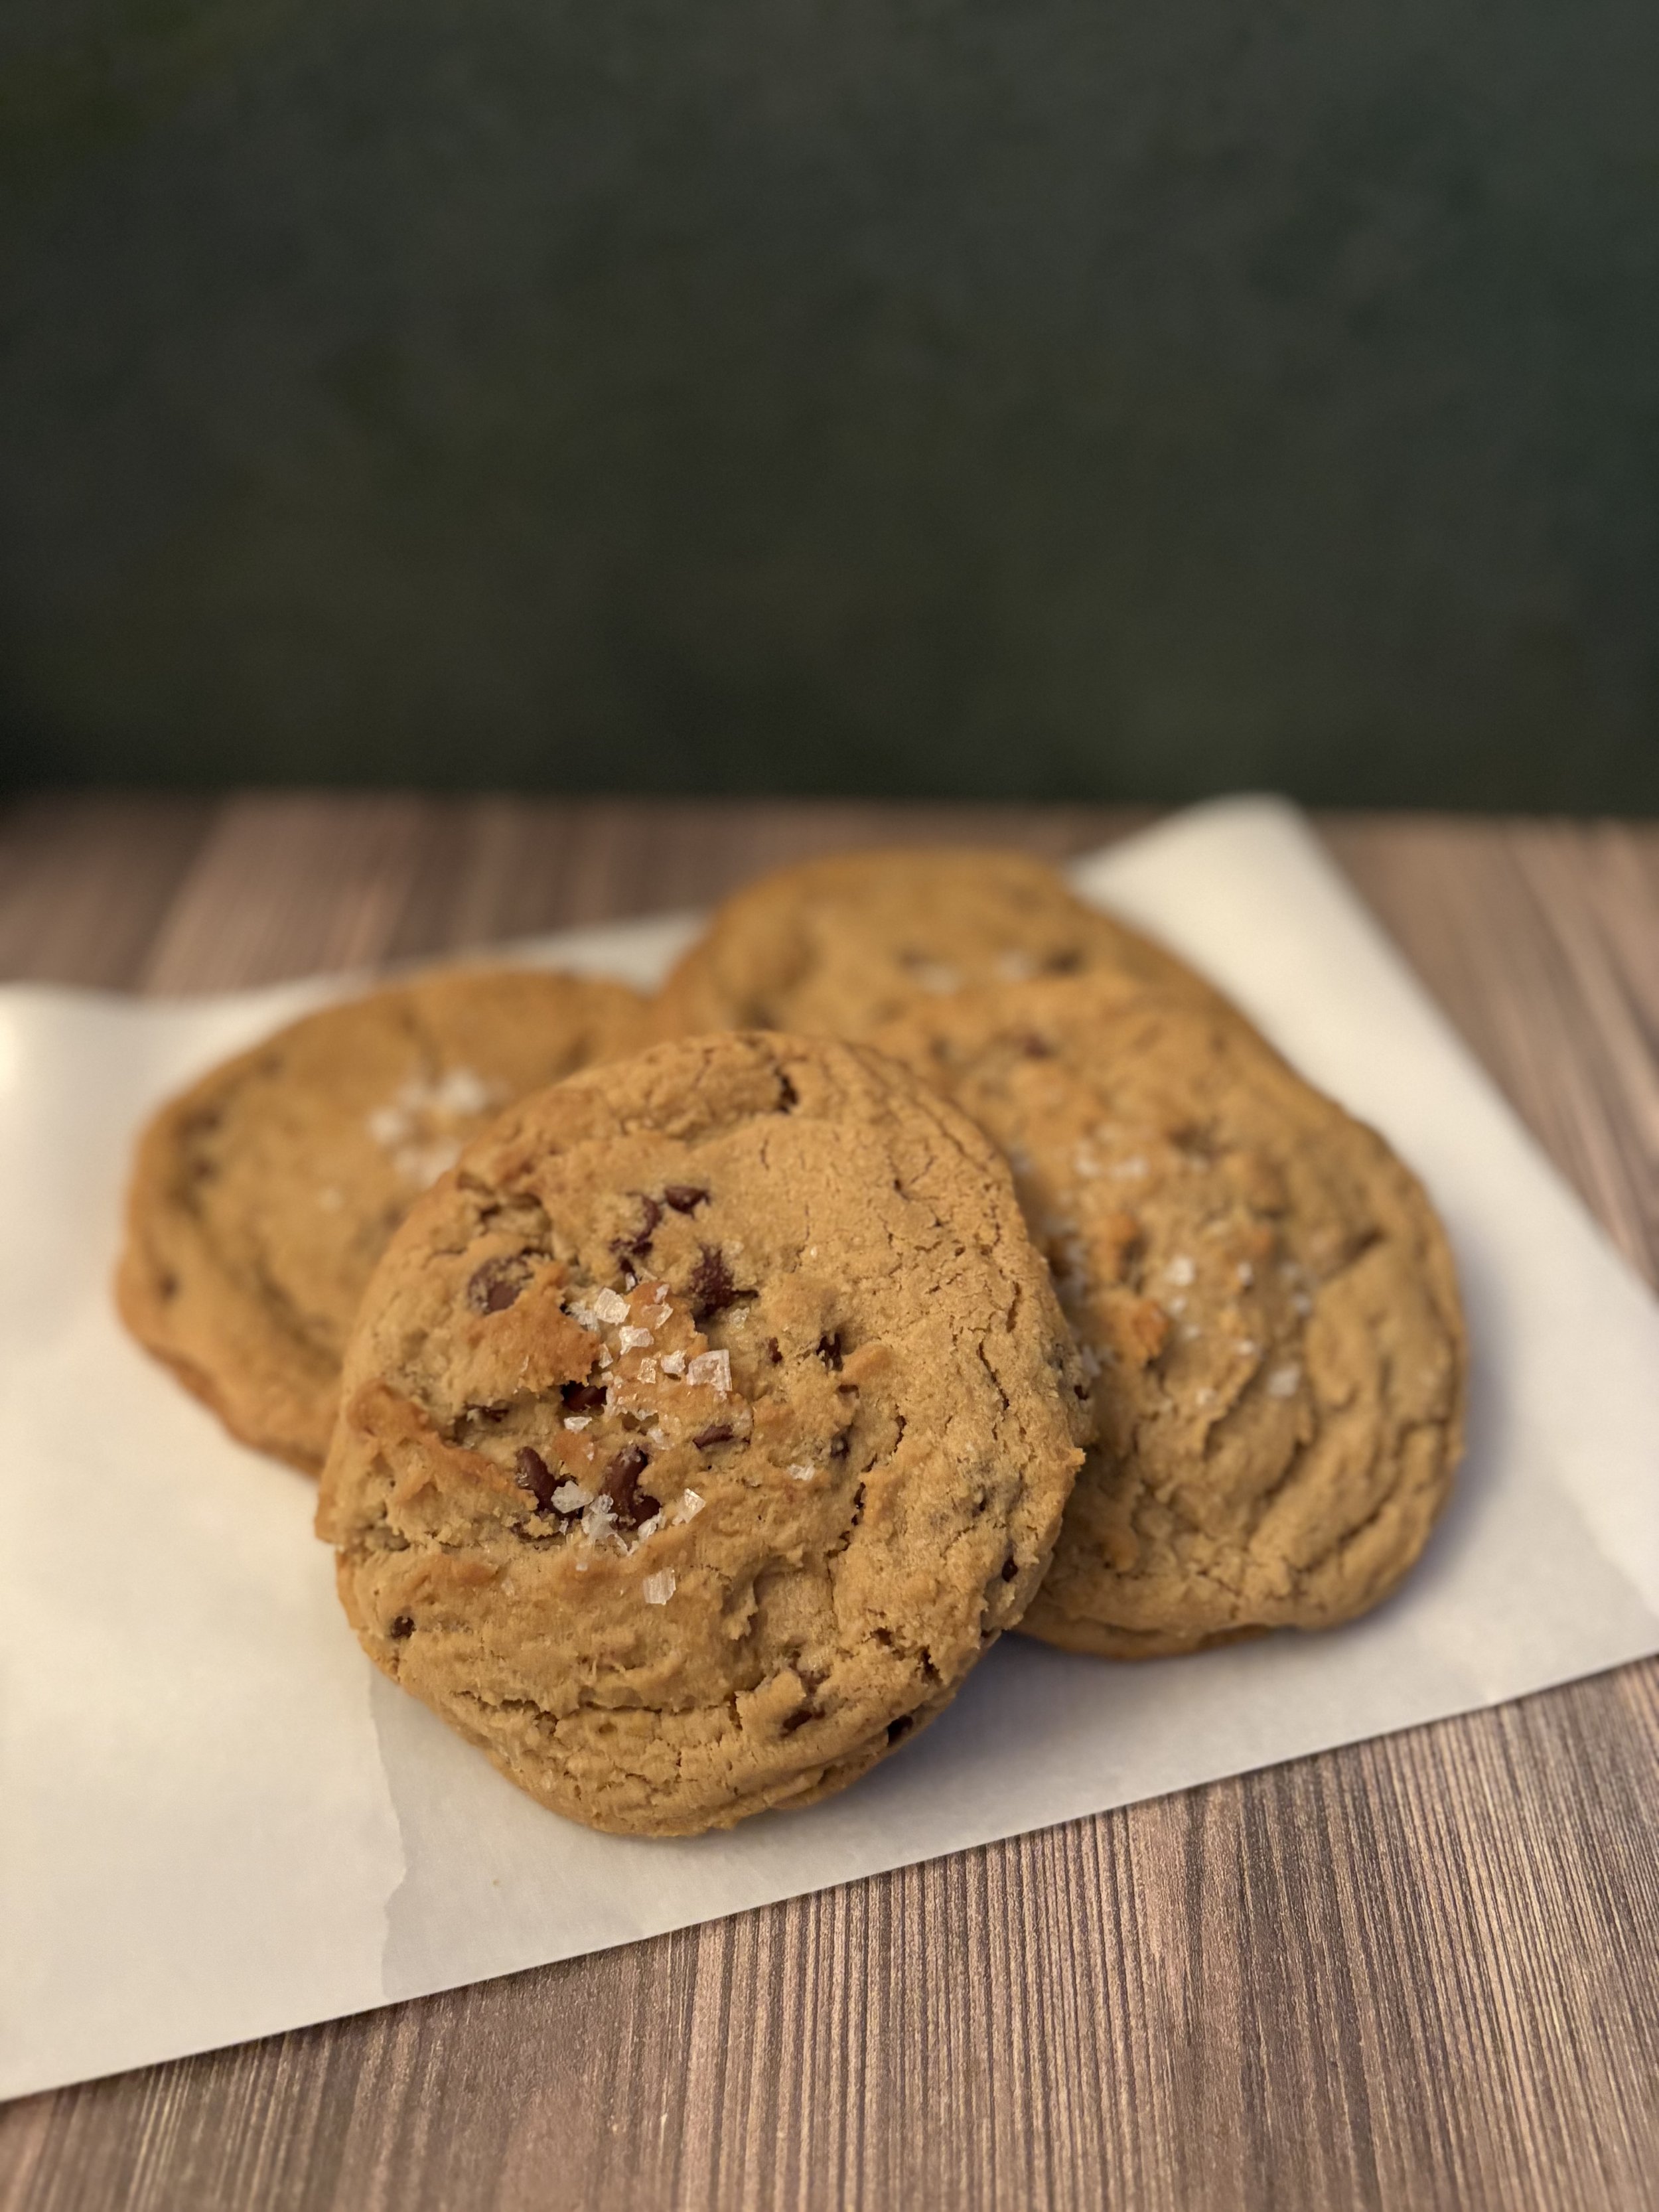
Step 5: Using a scoop and scale, weigh out 4oz cookie dough balls and place on a sheet pan. See notes below for spacing. Image Two and Three.
Step 6: Sprinkle finishing sea salt on top of each cookie and place in the fridge. I prefer using Maldon Salt, Sea Salt Flakes. See note as to why salt in placed on here. Image Three.
Step 7: Place chilled cookie dough ball on a sheet pan approximately 2 inches apart.
Step 8: Bake for 10 - 12 minutes and let cool on cookie sheet for at least five minutes before moving or enjoying.

Notes:
Difference between fluffy and whipped: Whipped is typically accomplished with a whisk attachment, the main difference is with whipped you have incorporated and captured air in the butter resulting in a airy cake like cookie rather than a chewy cookie.
Why fold in the chocolate: By folding in the chocolate you avoid over mixing the cookie dough batter and maintaining the structure established when beating the butter until fluffy.
Sheet pan placement: When scooping out dough and placing on pan to chill, you can place together with no space in between to save space in your fridge
Why are we chilling the dough: Chilling your dough helps with the cookie spreading when you bake it as well as the chewiness of the cookie.
Why do you put salt on before the fridge: We are simply putting the salt on now so that it stick to the top of the cookie before chilling and remains intact when baking.
To Make It Gluten Free: Replace the flour with 1:1 gluten free baking flour that contain xanthan gum already. I recommend Bob’s Red Mill 1:1 Baking flour (blue bag) or King Arthur Gluten Free Measure for Measure; avoid using almond flour alone as a replacement. Do Not reduce the amount, keep it the same. GF flour also absorbs more moisture so add an additional 2T milk and let the dough rest longer if not resting overnight in the fridge already.
To Make It Dairy Free: Swap the butter out for a plant based butter substitute, it behaves closest to butter, avoid tubs that say spread, anything that says “light” or coconut oil alone. Replace the milk with oat milk (best flavor + browning), soy milk (most neutral), or almond milk (works, slightly drier - would not recommend personally). You will also want to verify your chocolate does not have dairy, there are chocolate chips that are dairy free, I suggest Guittard DF chips or Enjoy Life. Making it DF, your dough will feel softer so you MUST chill the dough 2 - 4 hours but recommend overnight. When you bake, you will want your oven at 375 degrees, and you will bake them for 11-13 mins.